 International
 Singapore
 Malaysia
 Thailand
 Vietnam
Không có sản phẩm trong giỏ hàng!

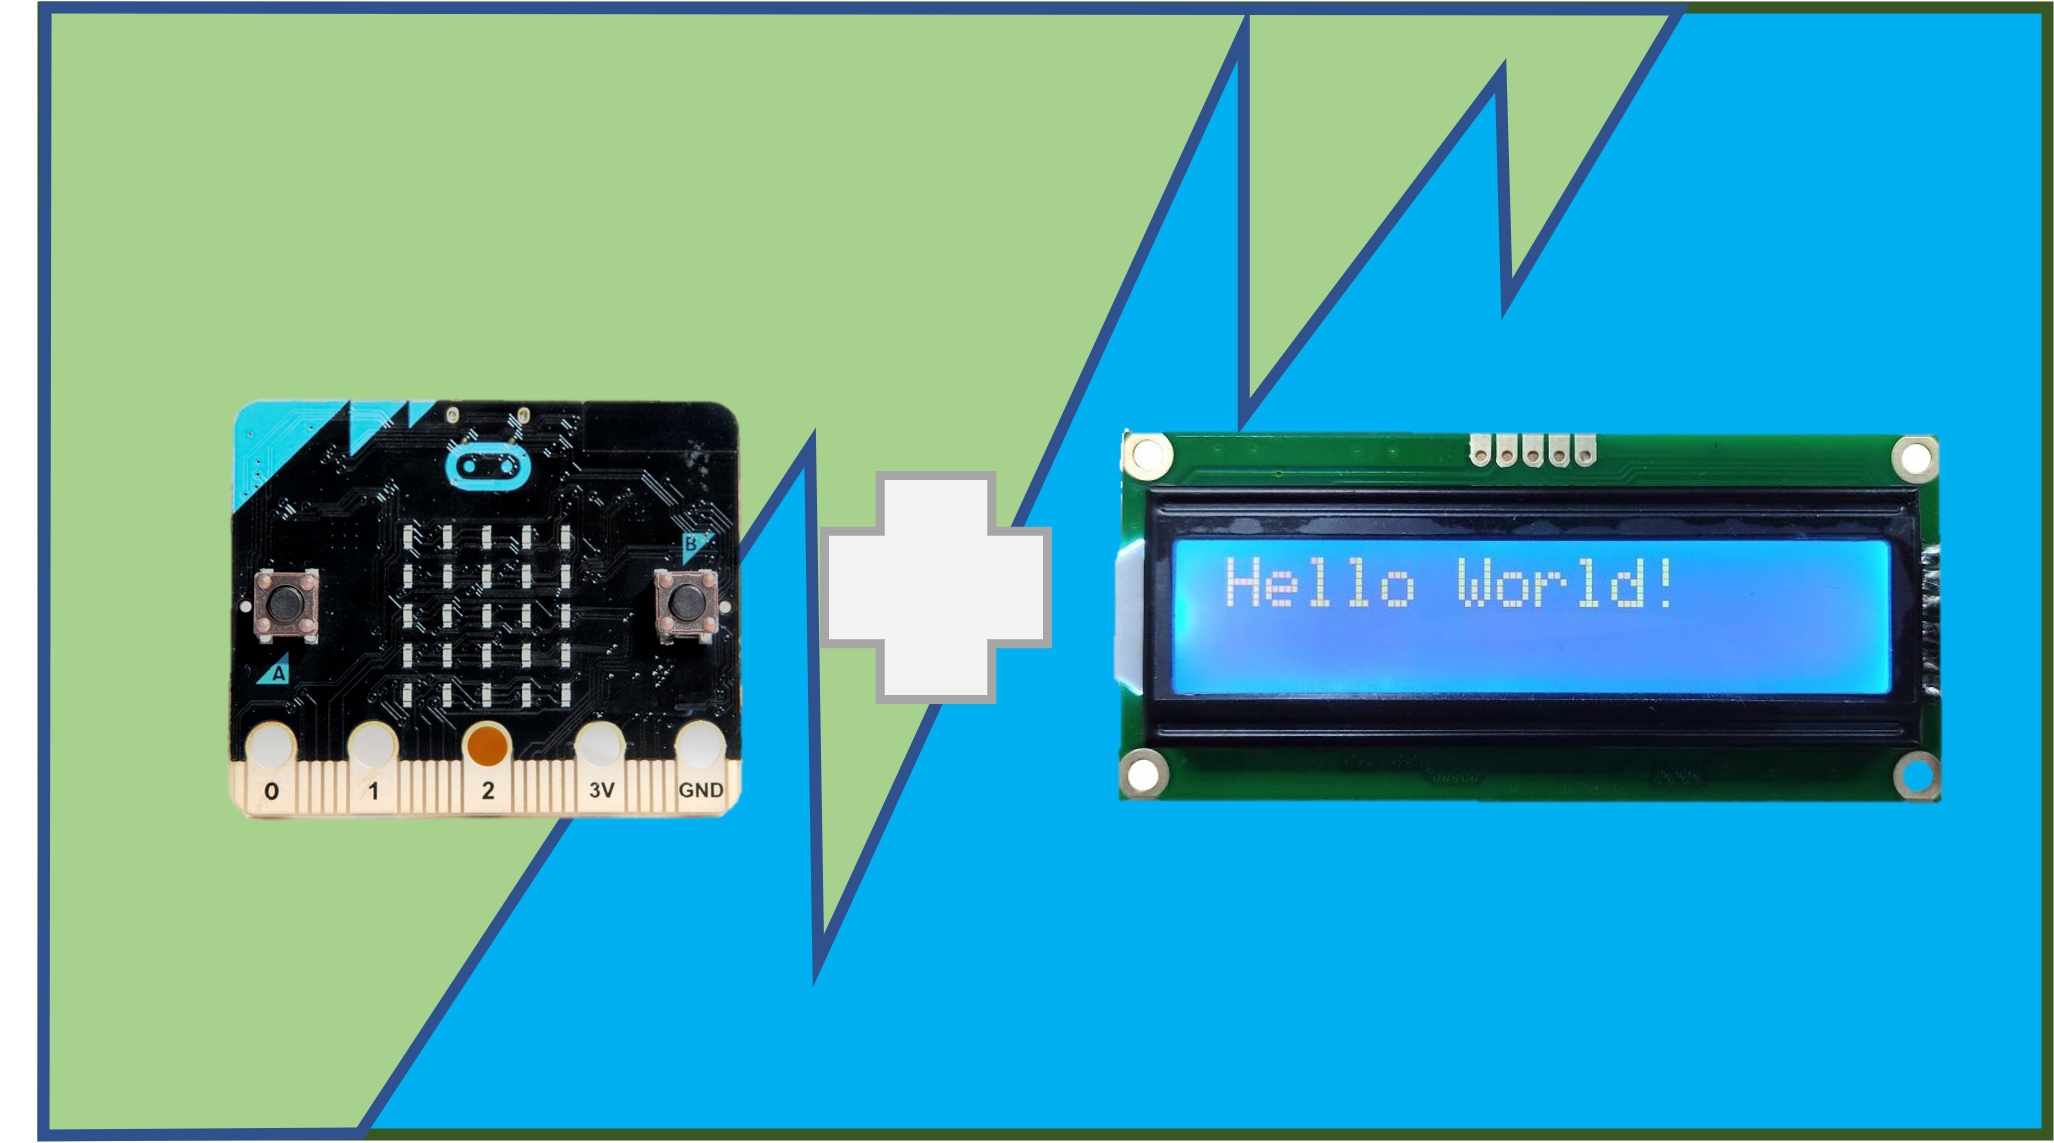
3.3V Serial Character LCD Display with micro:bit via I2C
LCD extension for micro:bit is now available in MakeCode, and now we can display text on 3.3V Serial LCD. Let's go!
Introduction
Cytron Technologies just released the MakeCode extension for the 3.3V Serial LCD. This extension has also been tested with micro:bit V1.5 and micro:bit V2 for I2C serial communication. The extension is in the block language form and it very easy to use.
NOTE: This extension is developed as it is and comes with the fundamental functions. You are encouraged to improve the code for your own application purposed.
In this tutorial, we will display the Hello World text on 3.3V Serial LCD via I2C communication protocol using micro:bit. Let's go!
Hardware
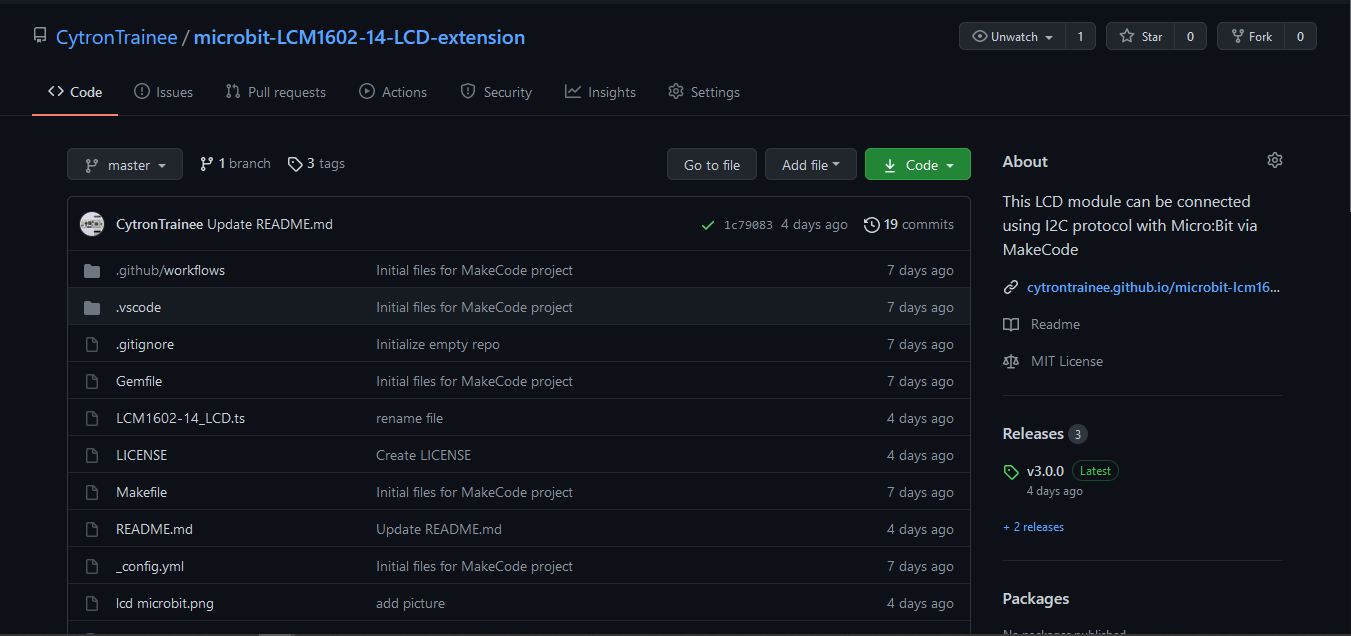
LCM1602-14 LCD extension
To program the LCD, we need the extension or the “driver” of this LCD. We can get the extension at this GitHub microbit-LCM1602-14-LCD-extension created by Cytron Technologies. This extension is compatible with all MakeCode programmable based which are JavaScript, Python, and even Block programming. Click the link given, the view will look like this :
Extension Setup
From the GitHub above, we need to add the repository as an extension in MakeCode. In order to do so, we can just follow the step below :
STEP 1: Open the MakeCode editor program via this link https://makecode.microbit.org/
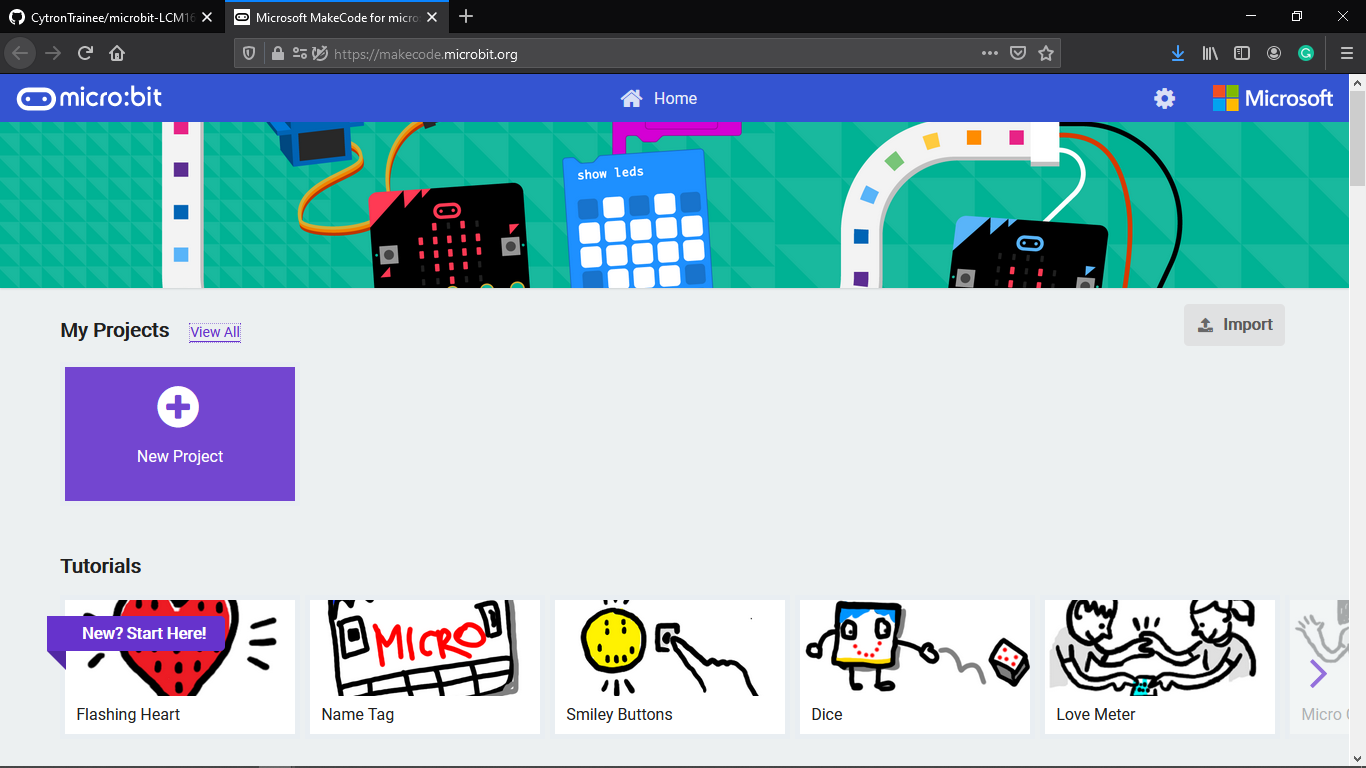
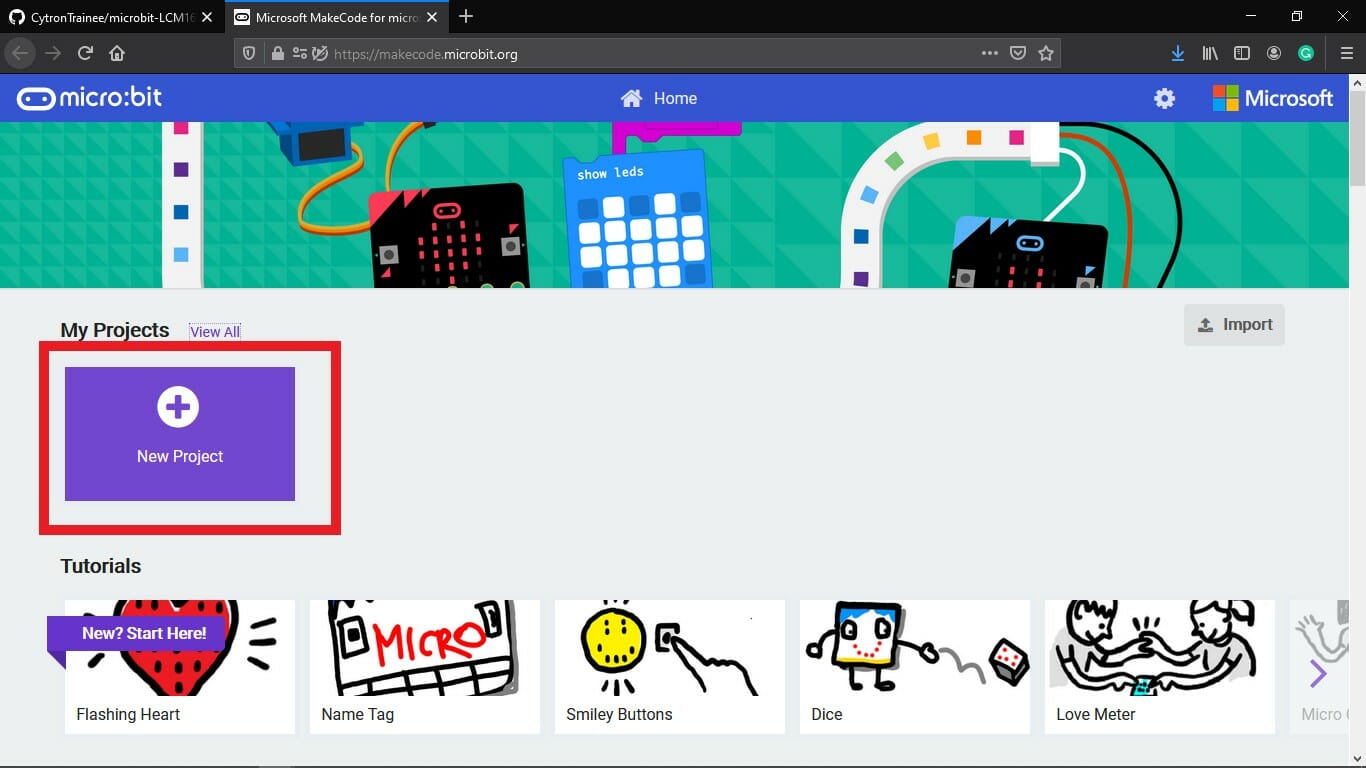
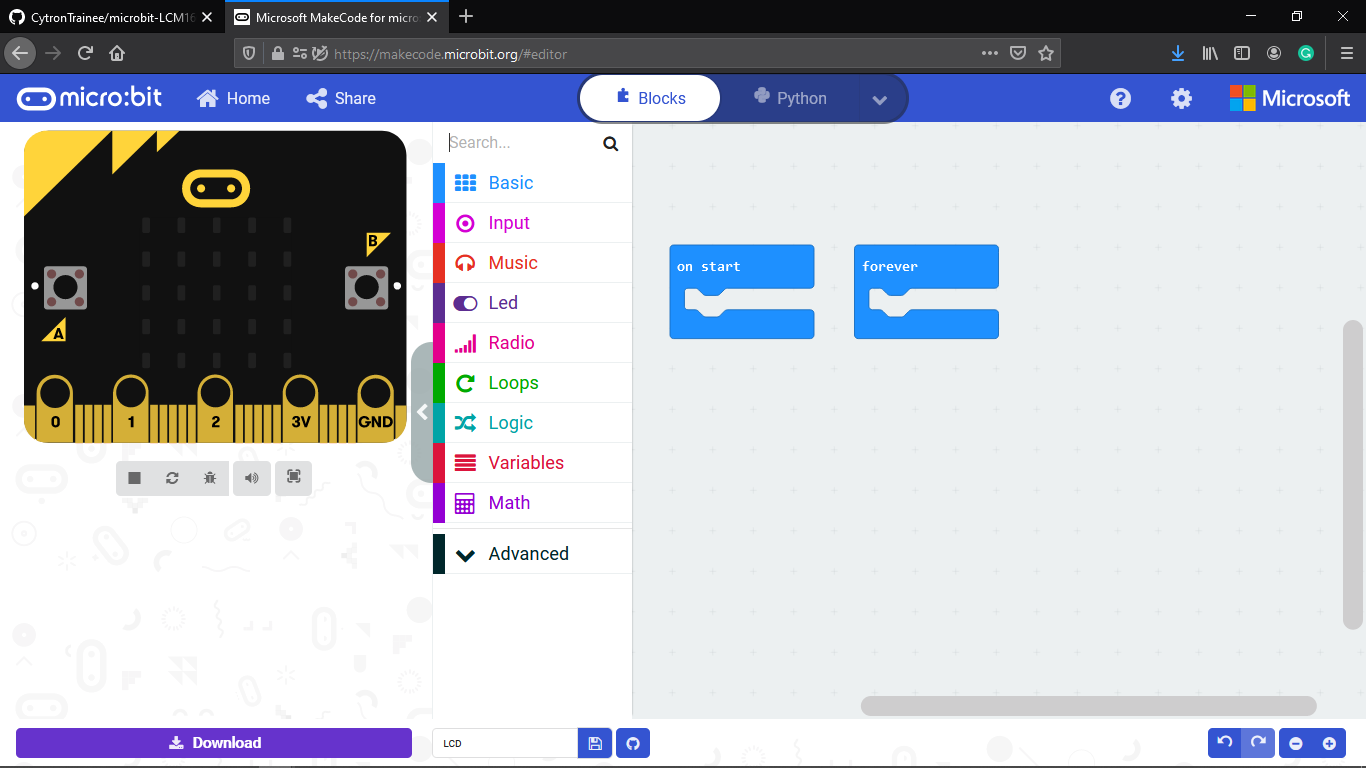
STEP 2: Create a new project. Name the project with any name that you feel suitable. The interface of the program environment will look like in the picture below:
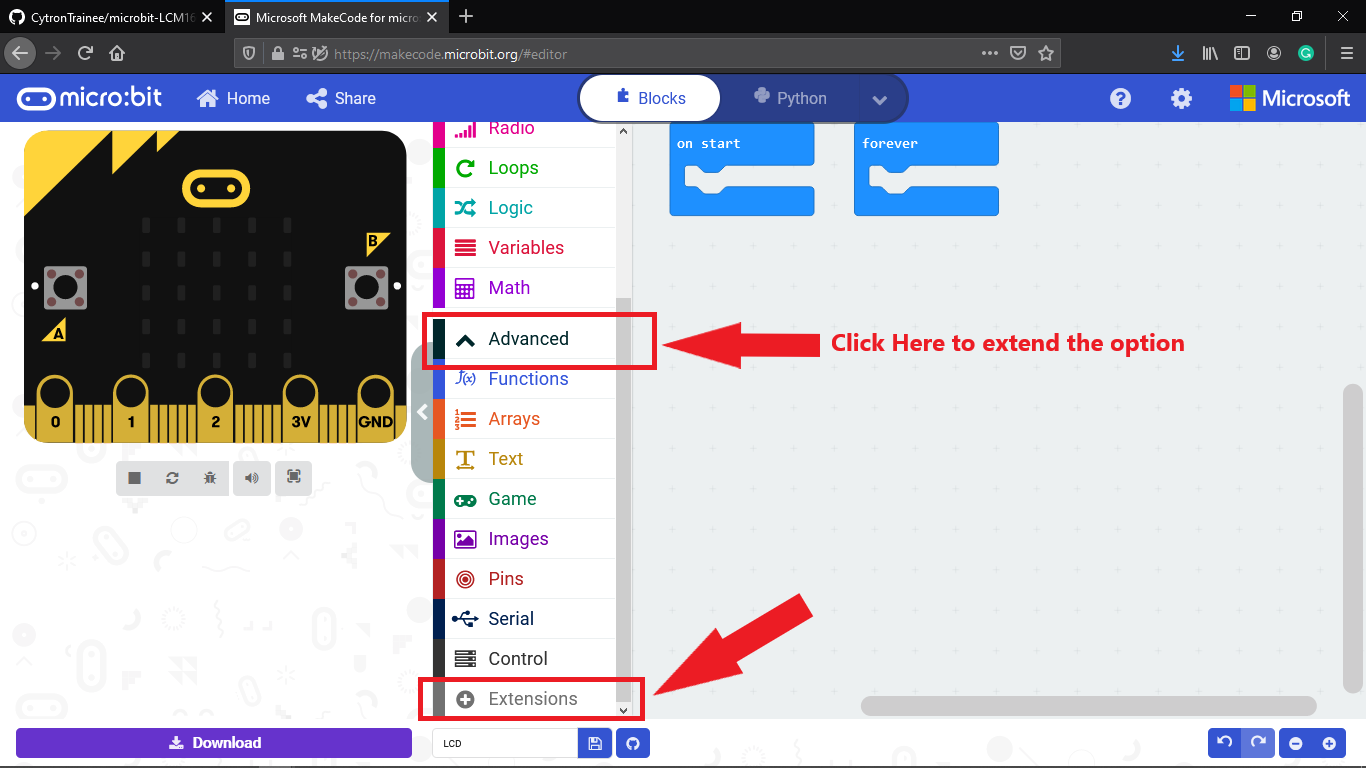
STEP 3: Click the advanced to extend the option, then scroll down and find the extensions
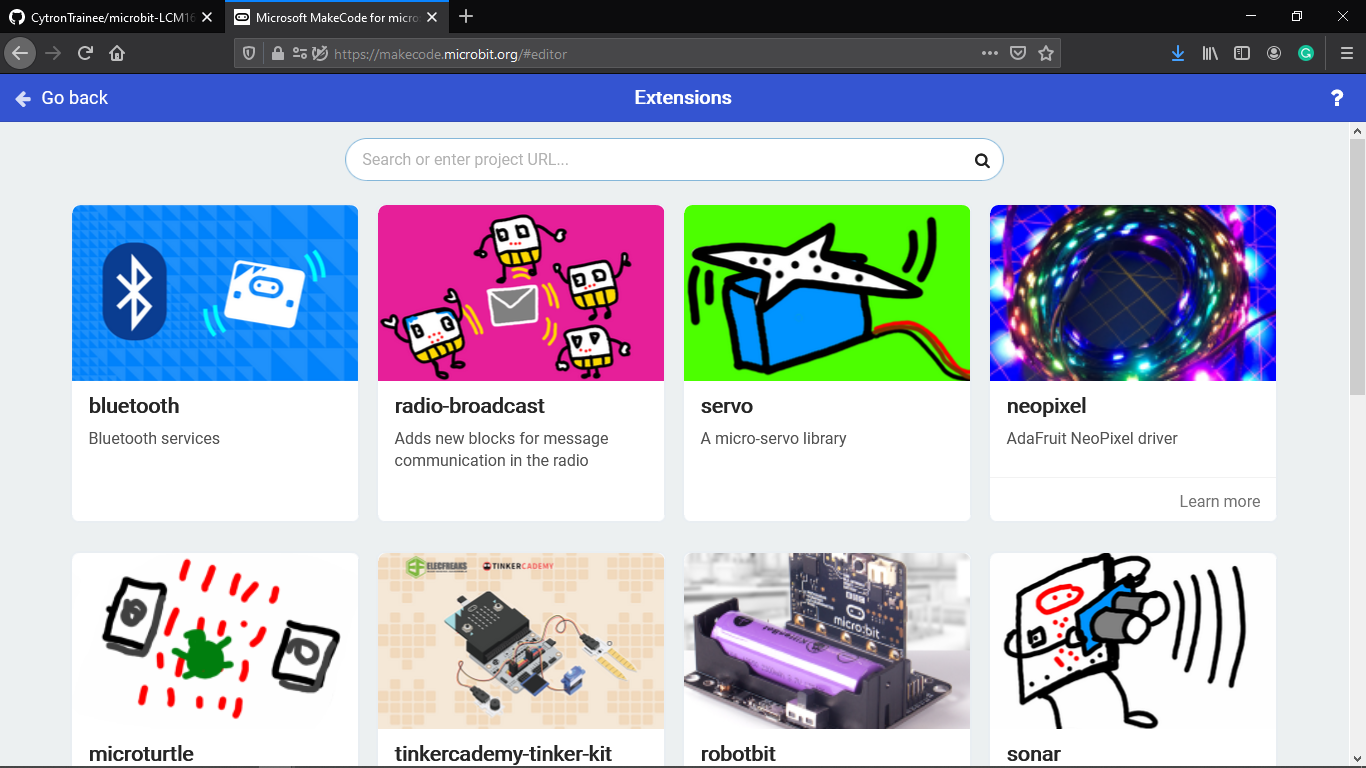
STEP 4: Click the extensions and this interface will pop-up.
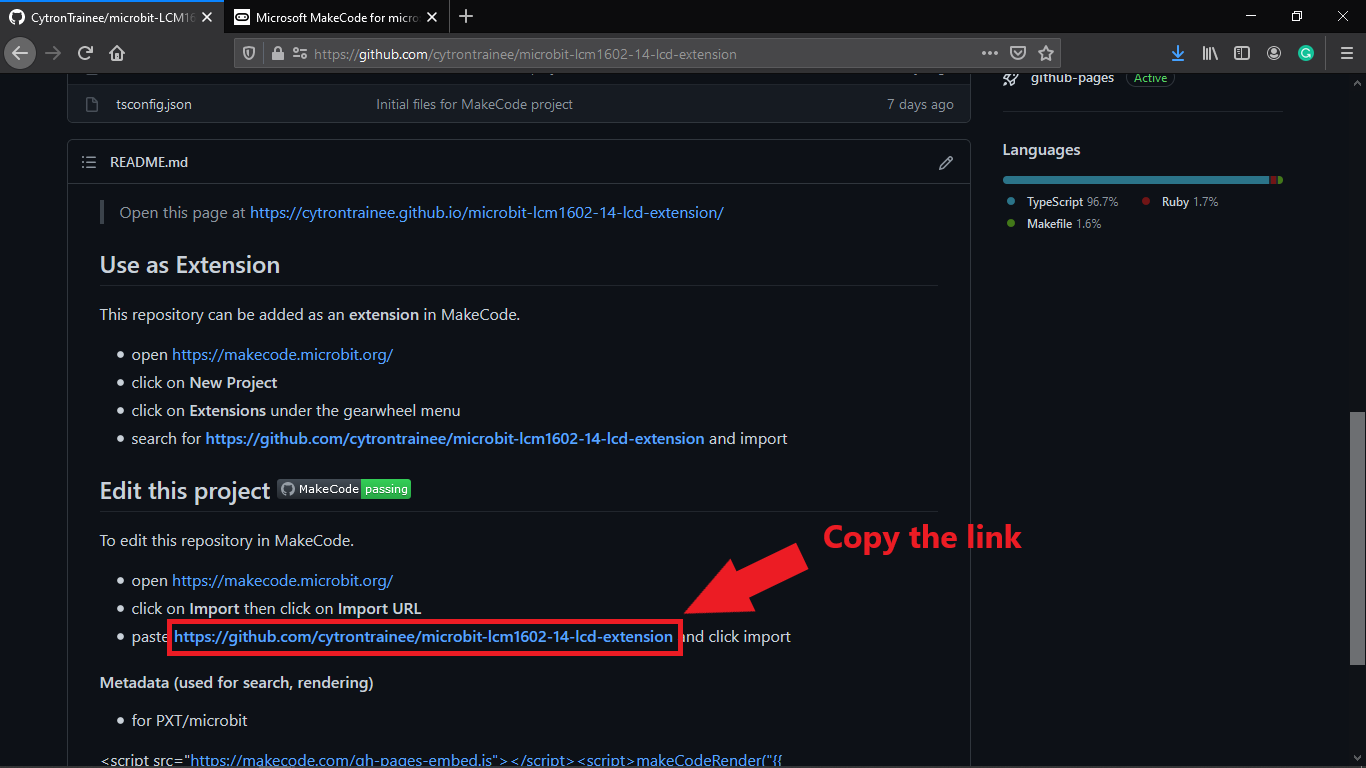
STEP 5: Copy the GitHub link as shown in the picture below, then paste it at the extensions search bar.
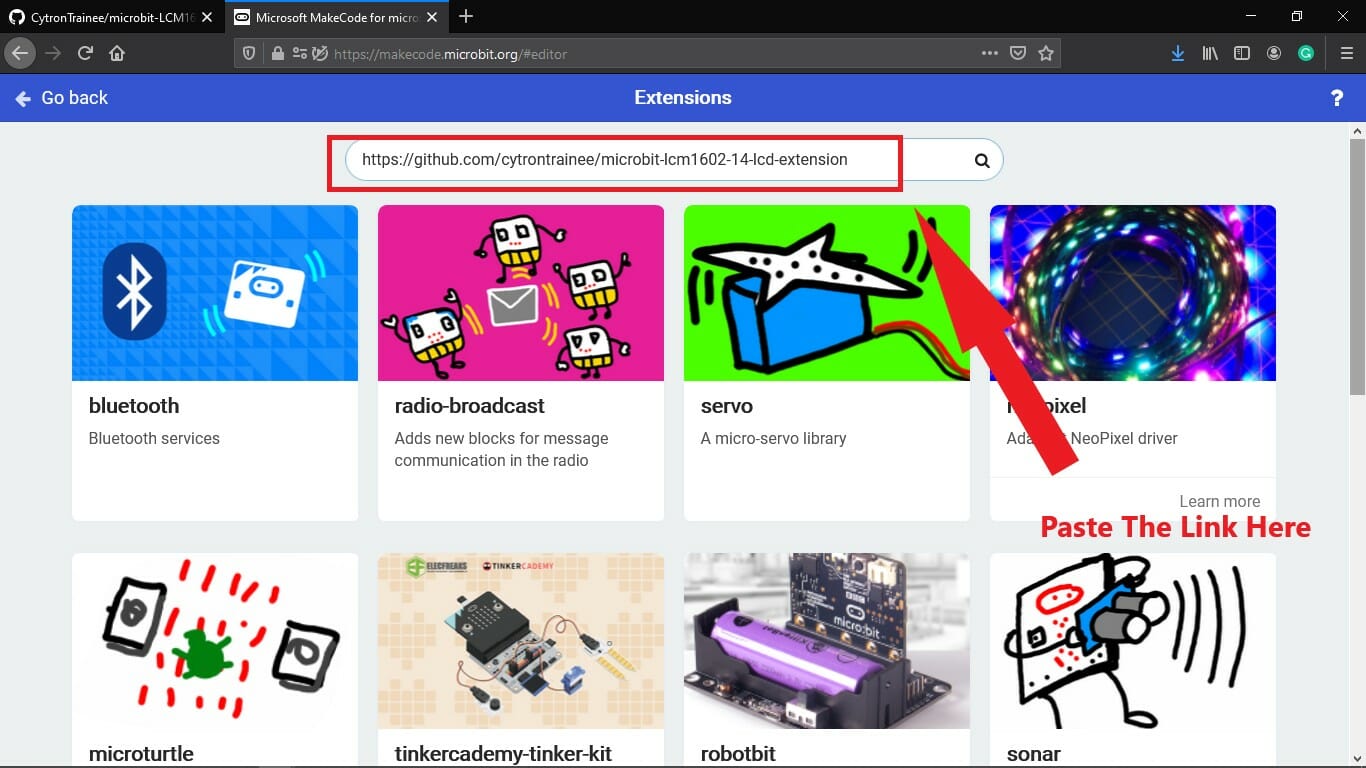
STEP 6: Search them and we will found the extension name microbit-3.3V LCD as picture shown below.
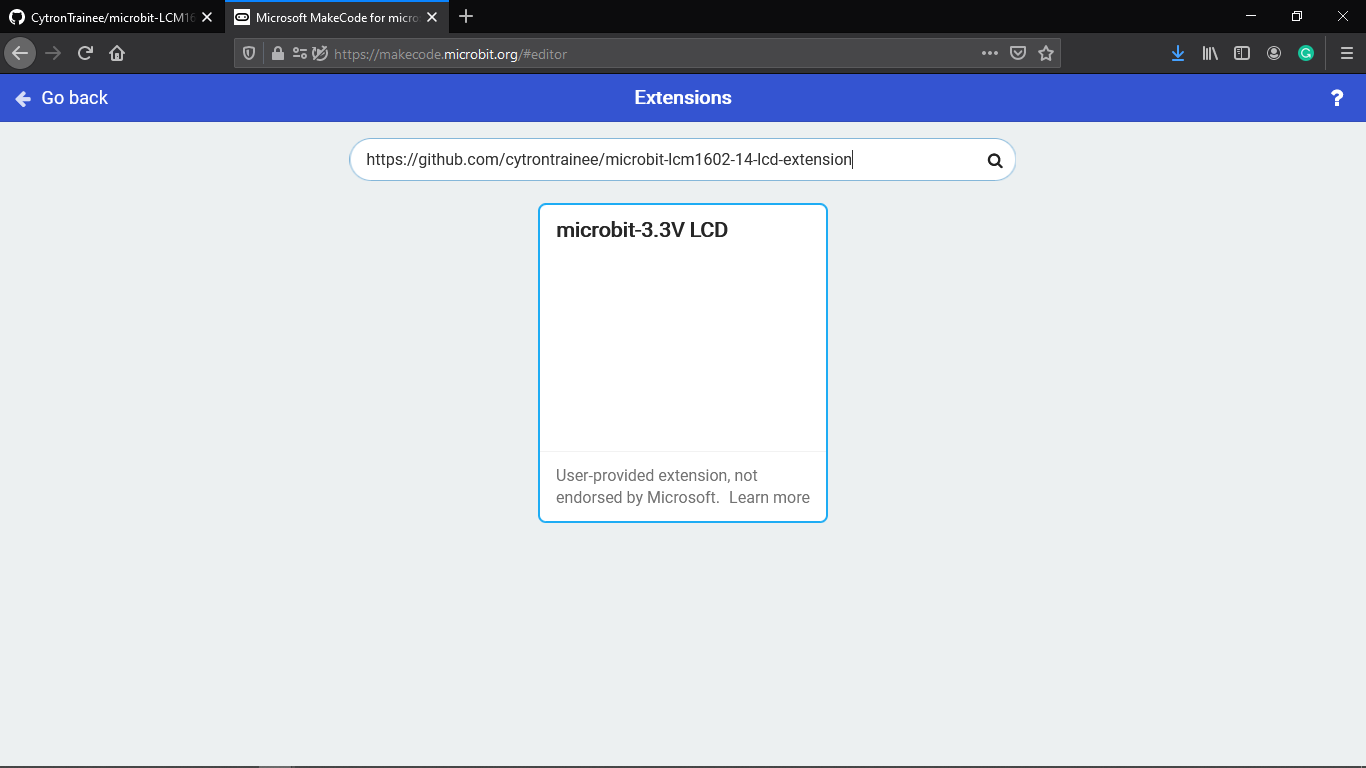
STEP 7: Click the extension, then the page will buffer within a millisecond. Boom! We are ready to go!
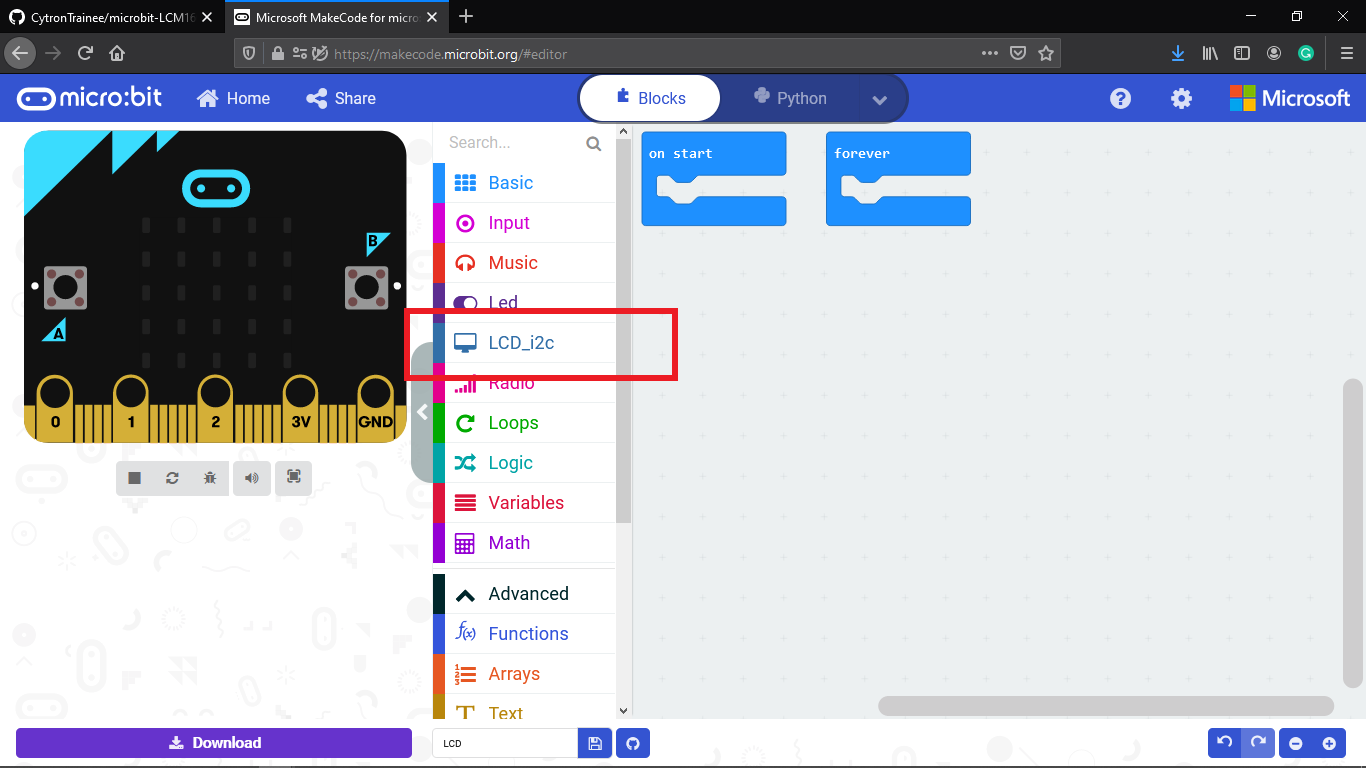
We can see from the option bar, the LCD_i2c extension in blue colour will appear.
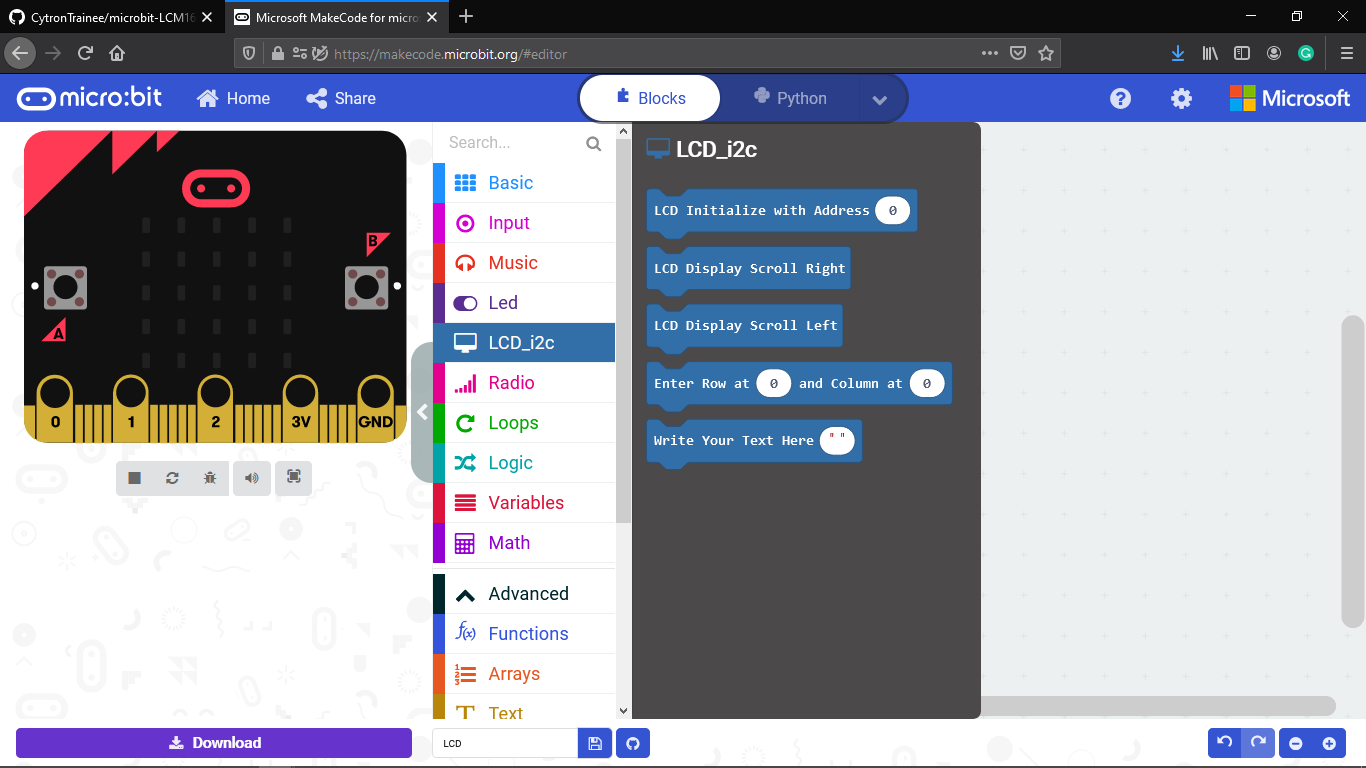
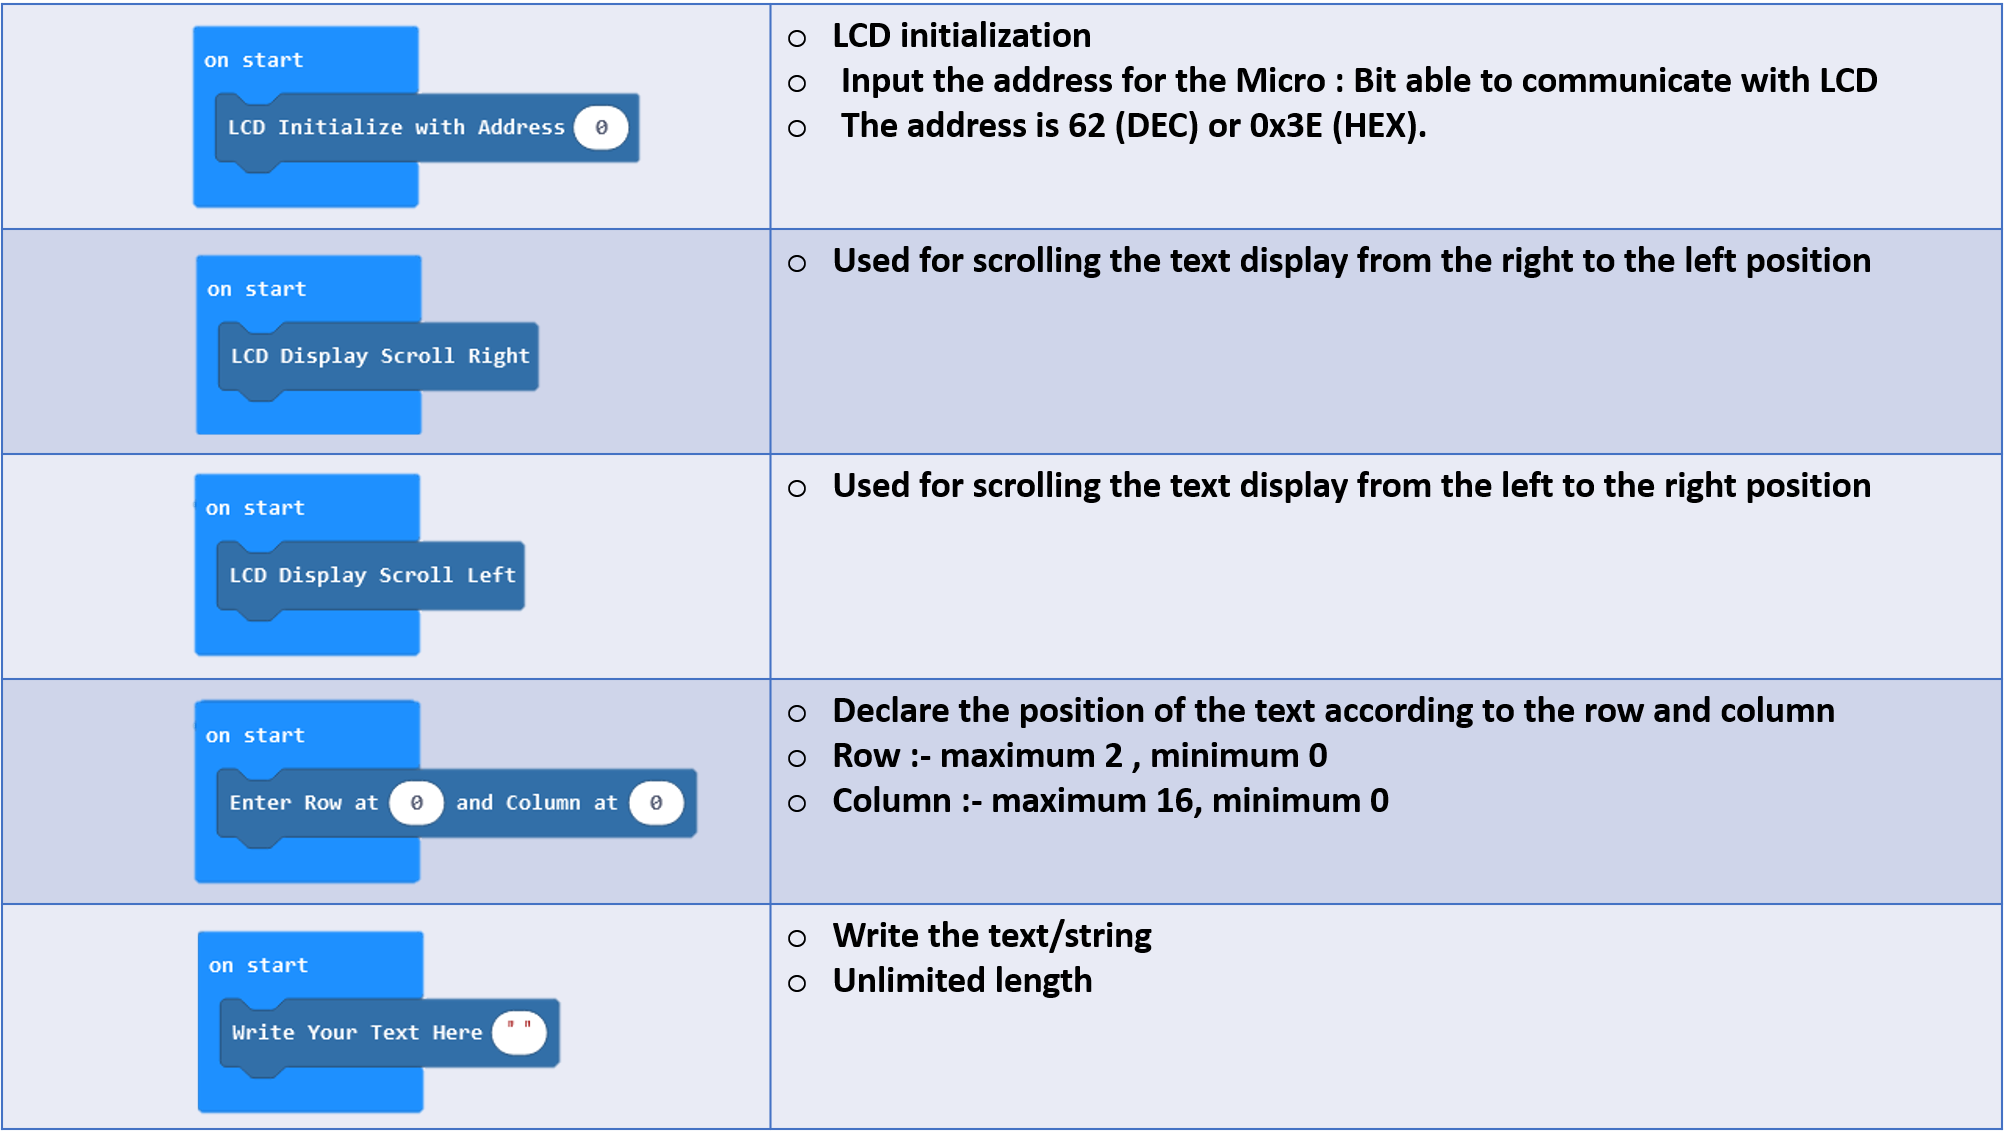
Functions in Extension
There are 5 fundamental functions that been created in this extension for this LCD. The functions are the LCD initialization, LCD scroll right, left, set LCD's column and row and function to write the text string.
Five of them are just fundamental functions for the LCD. You are encouraged to improve the code for your own application purposed by editing the repository in MakeCode. You can see at the README.md of this extension's GitHub in the edit this project's section to guide you.
Block Functions
Application
We are done setting up the extension in MakeCode and understand how to use those functions, so, how about we do some application from the whole that we learnt before by displaying the 'Hello World!' on the LCD. Let's go!
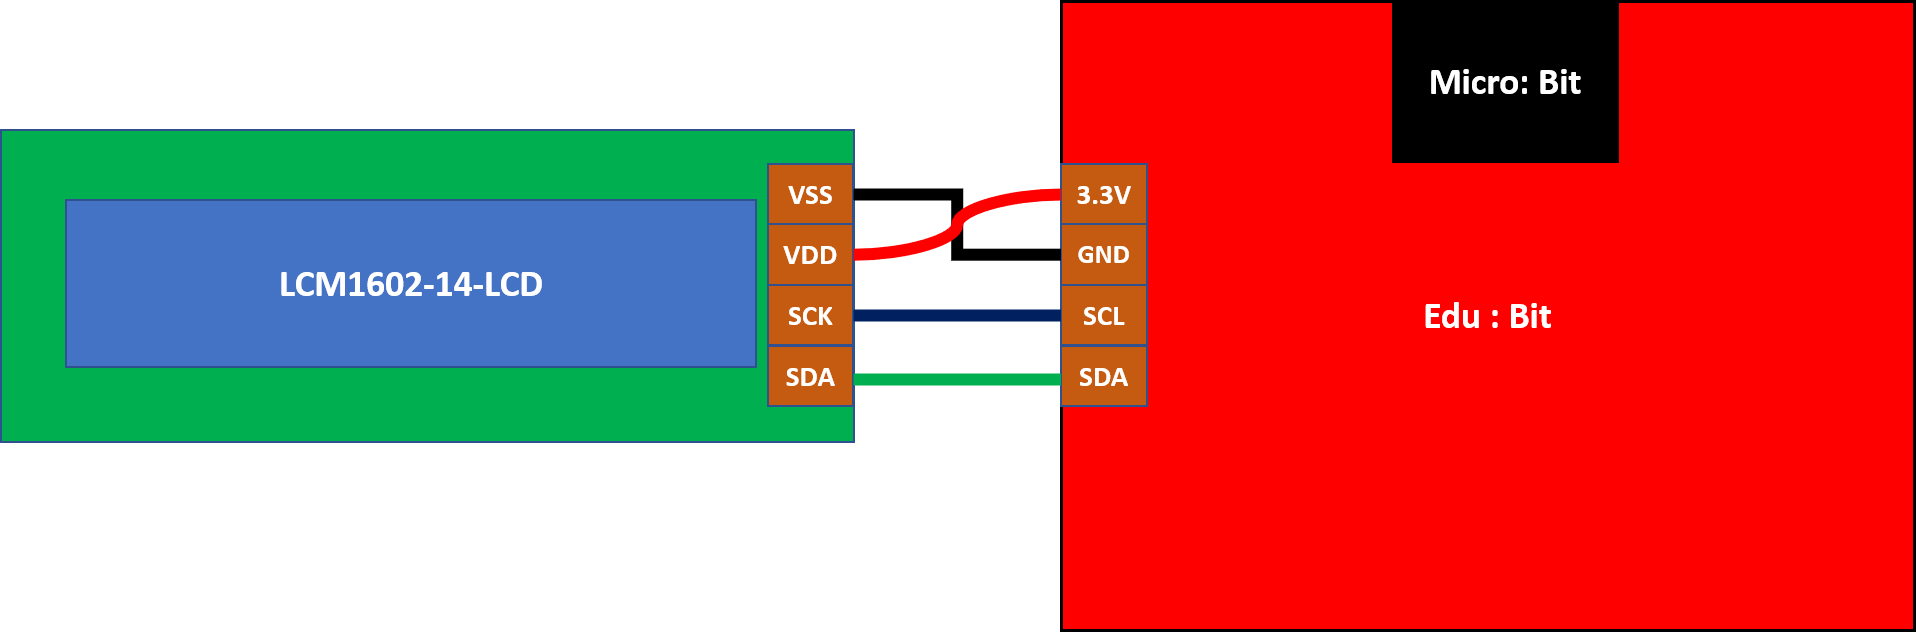
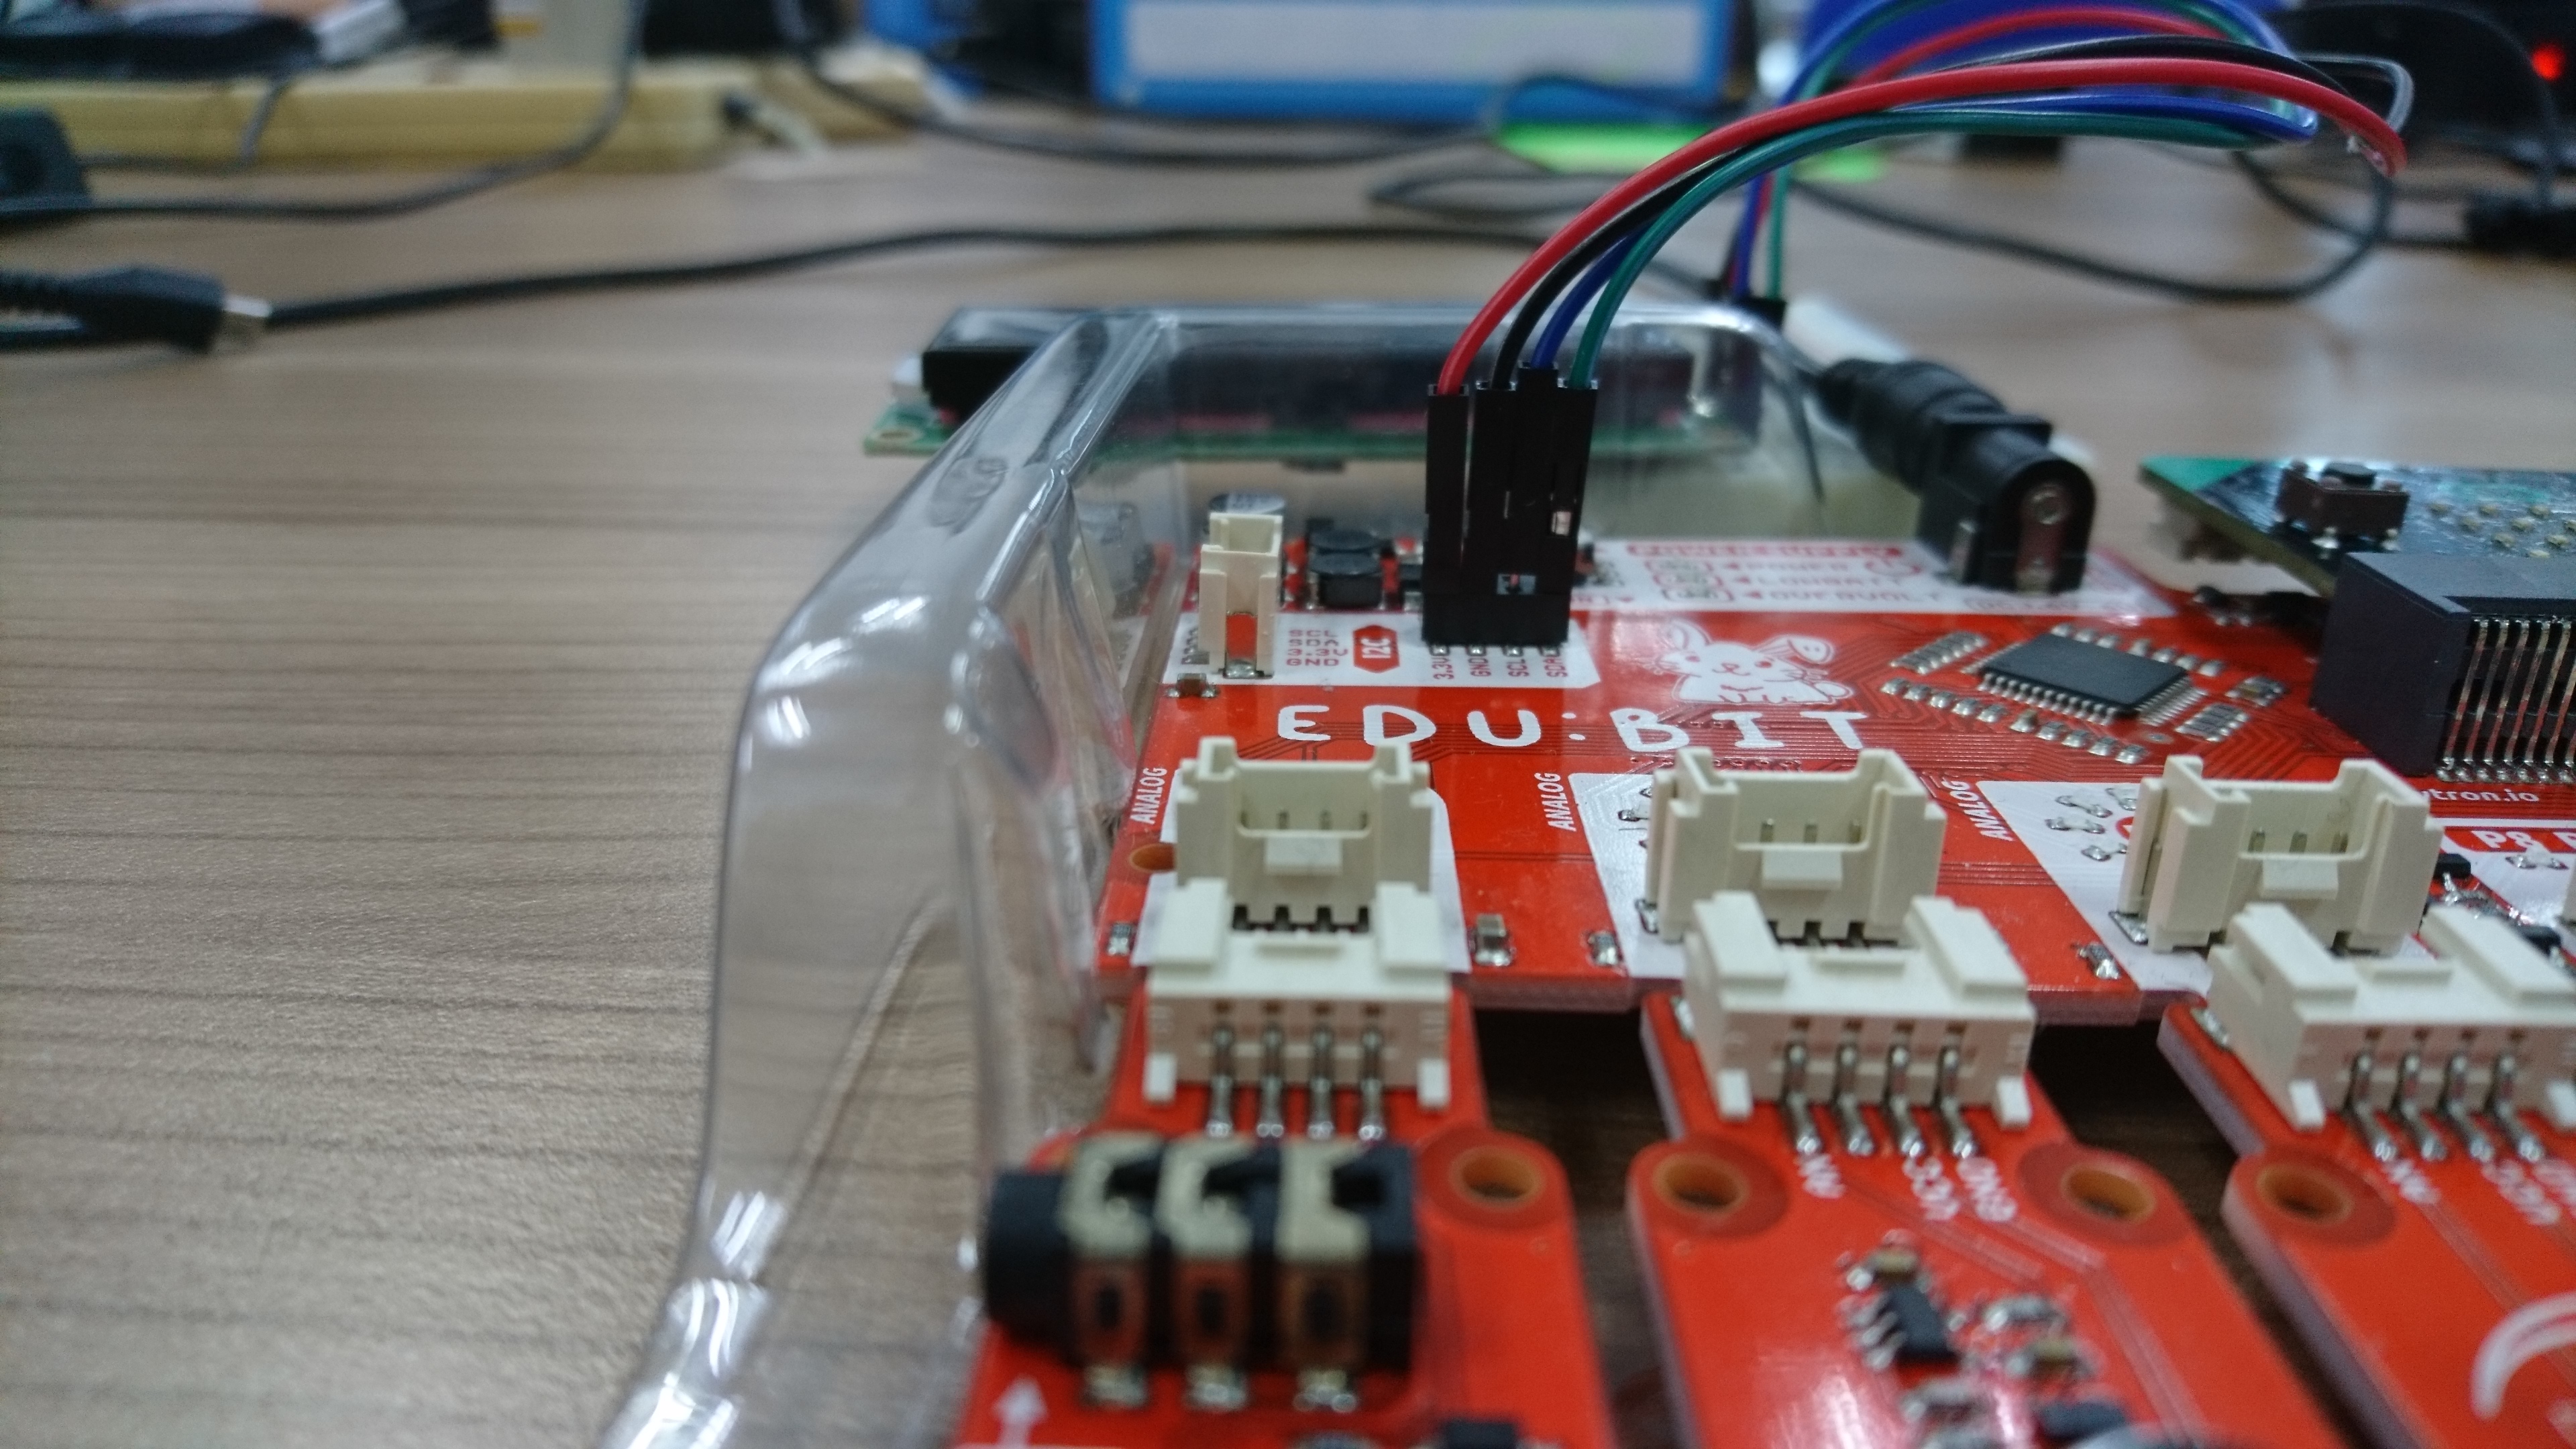
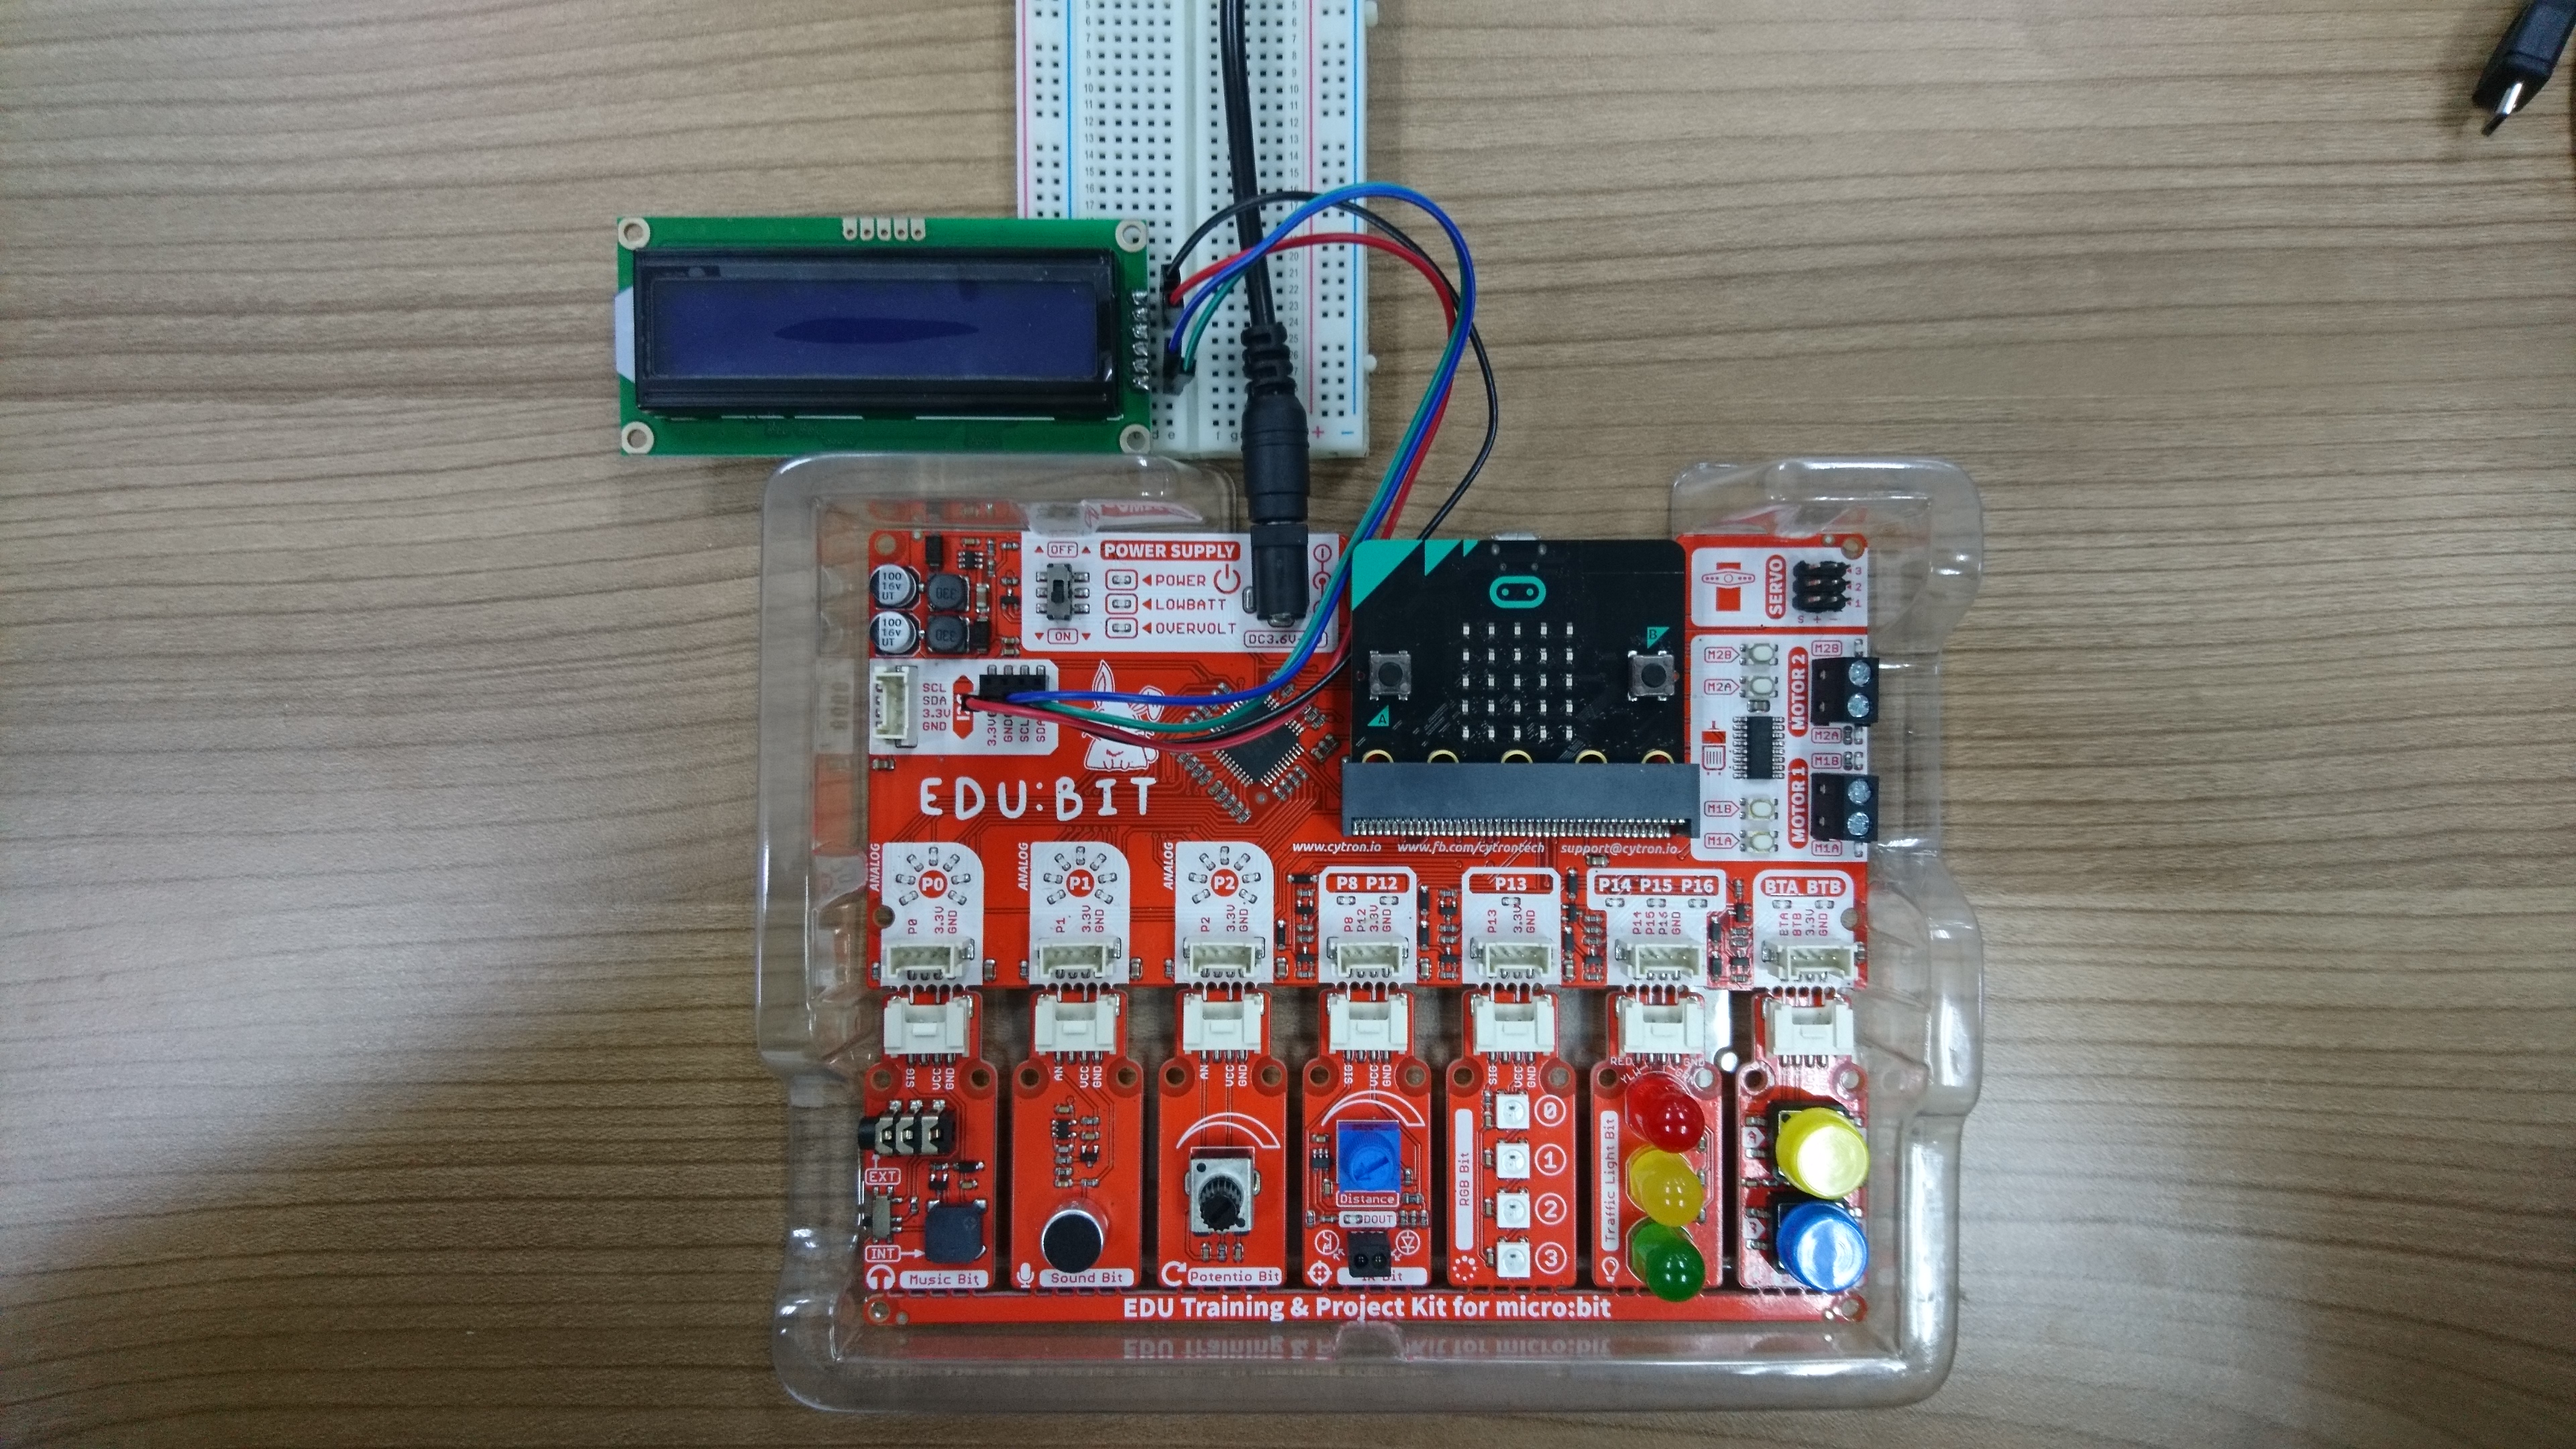
Wiring
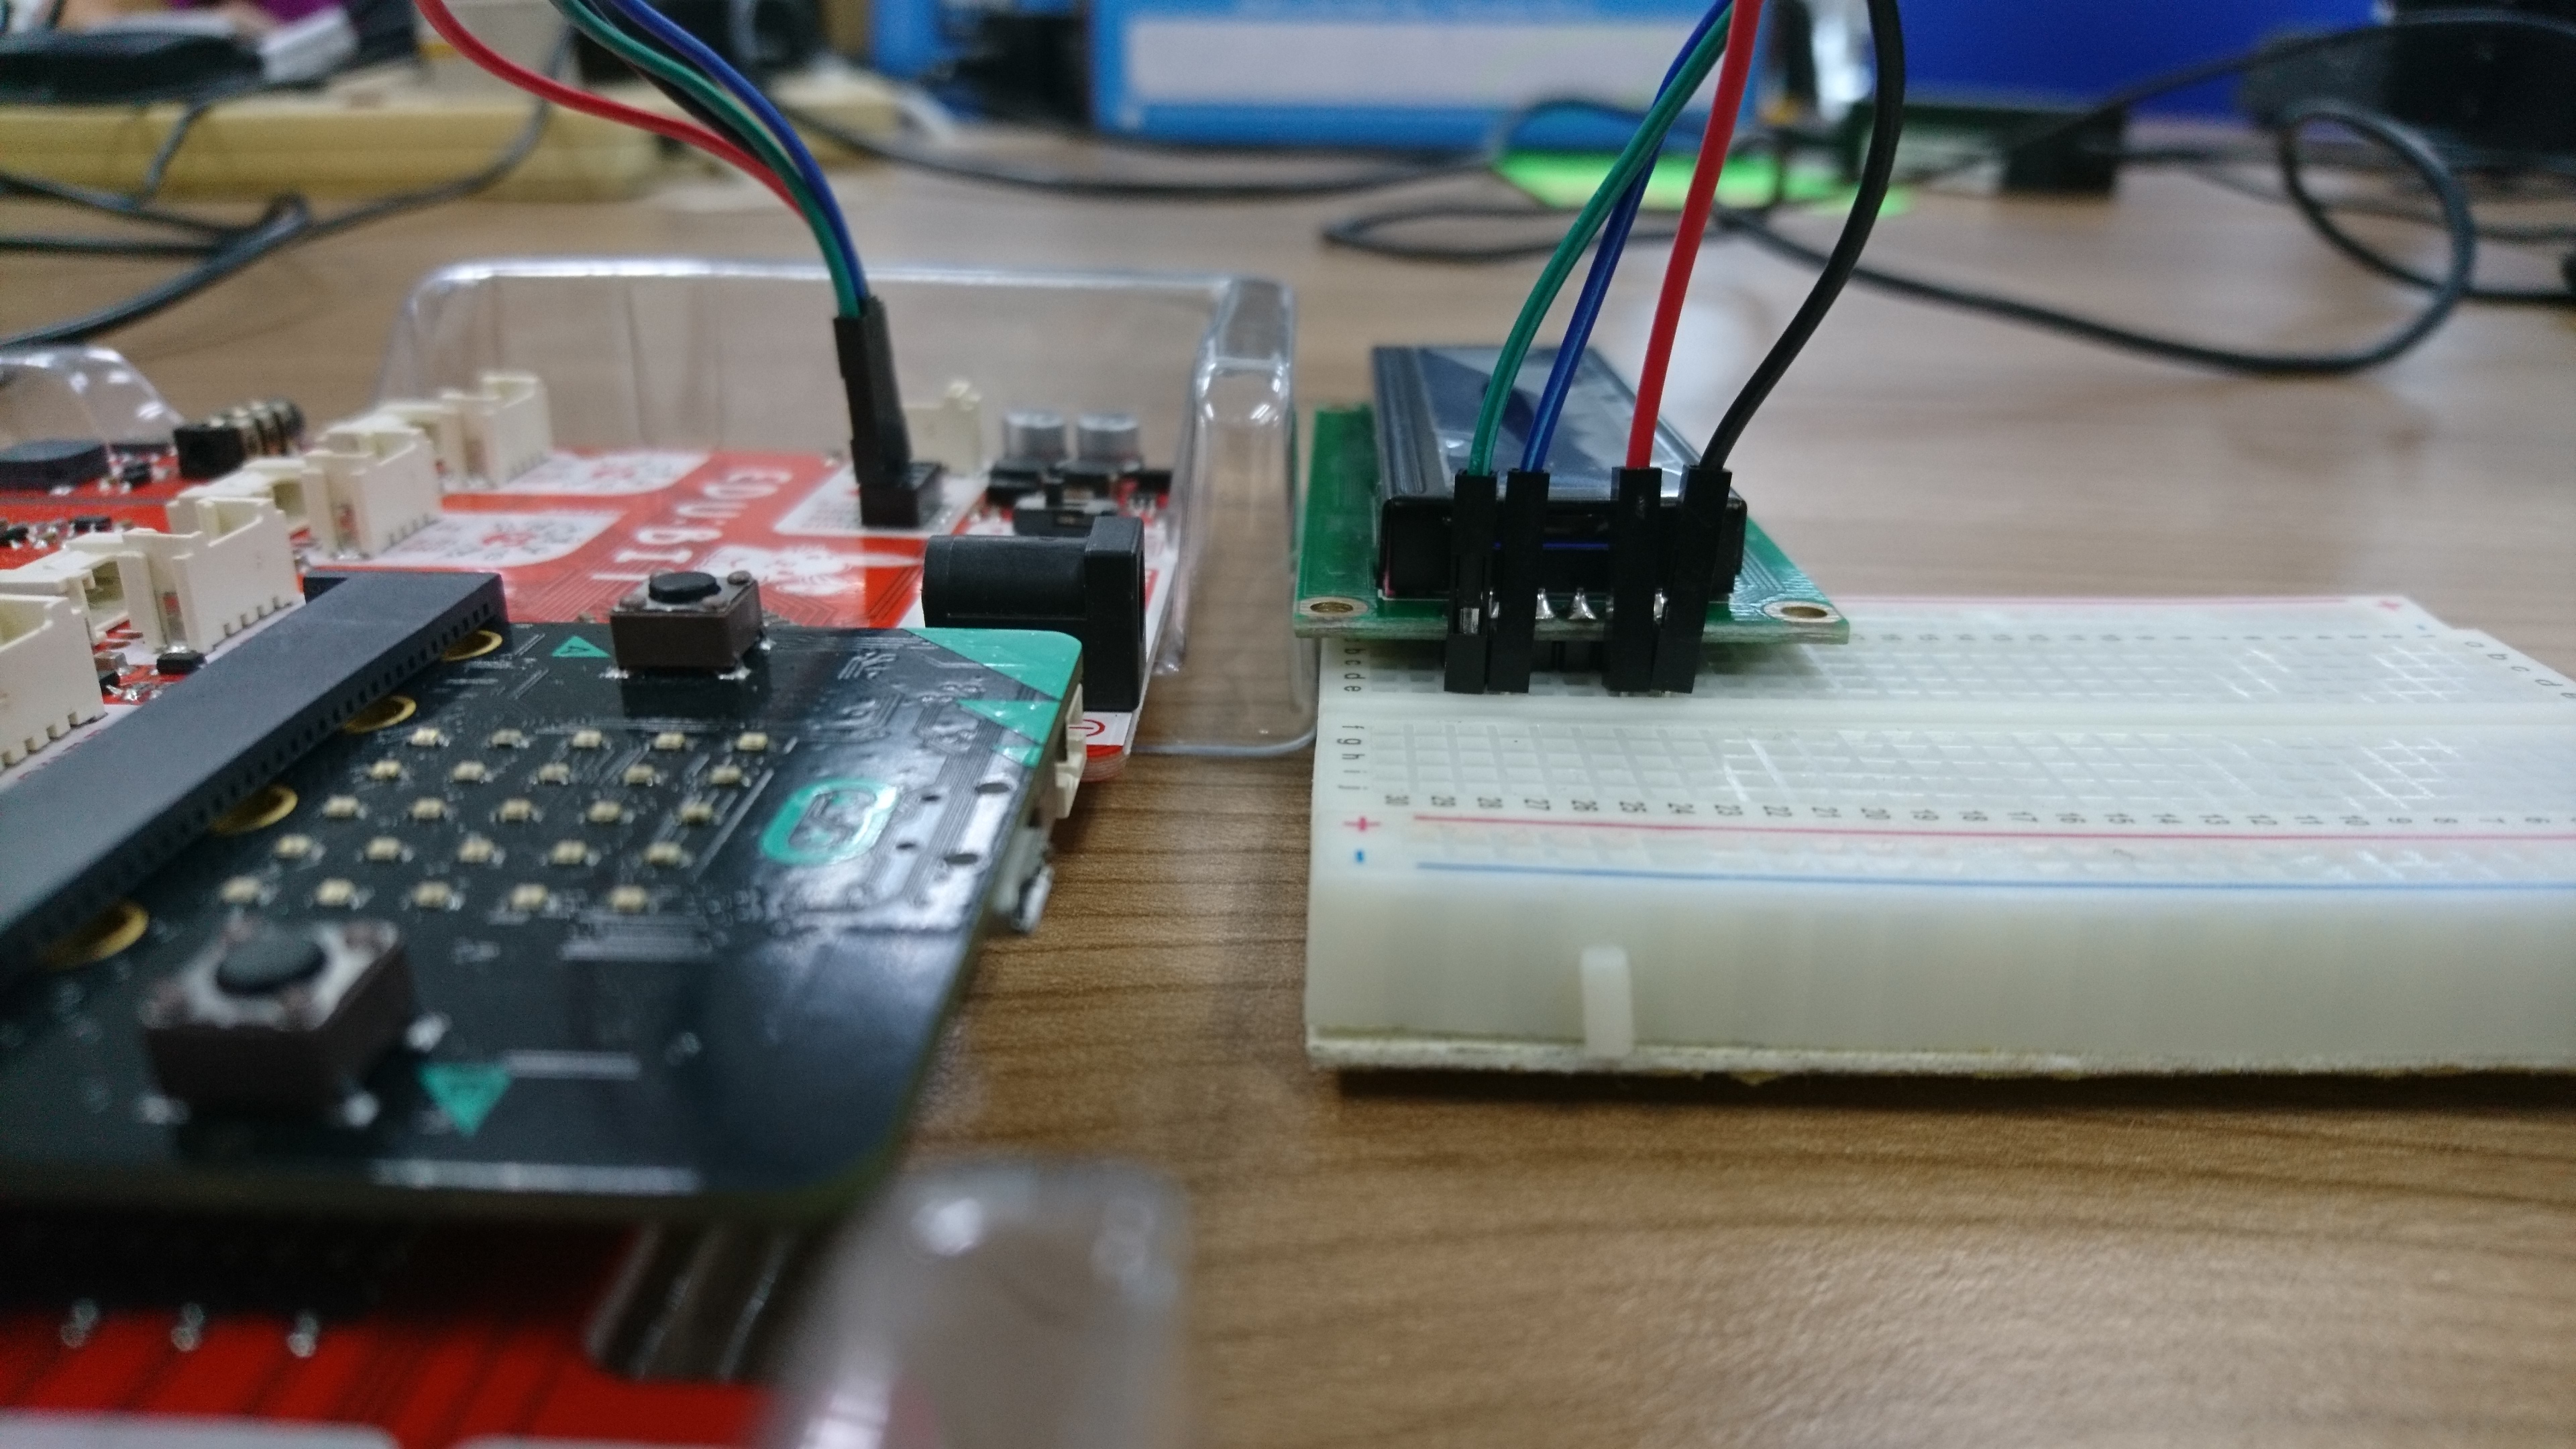
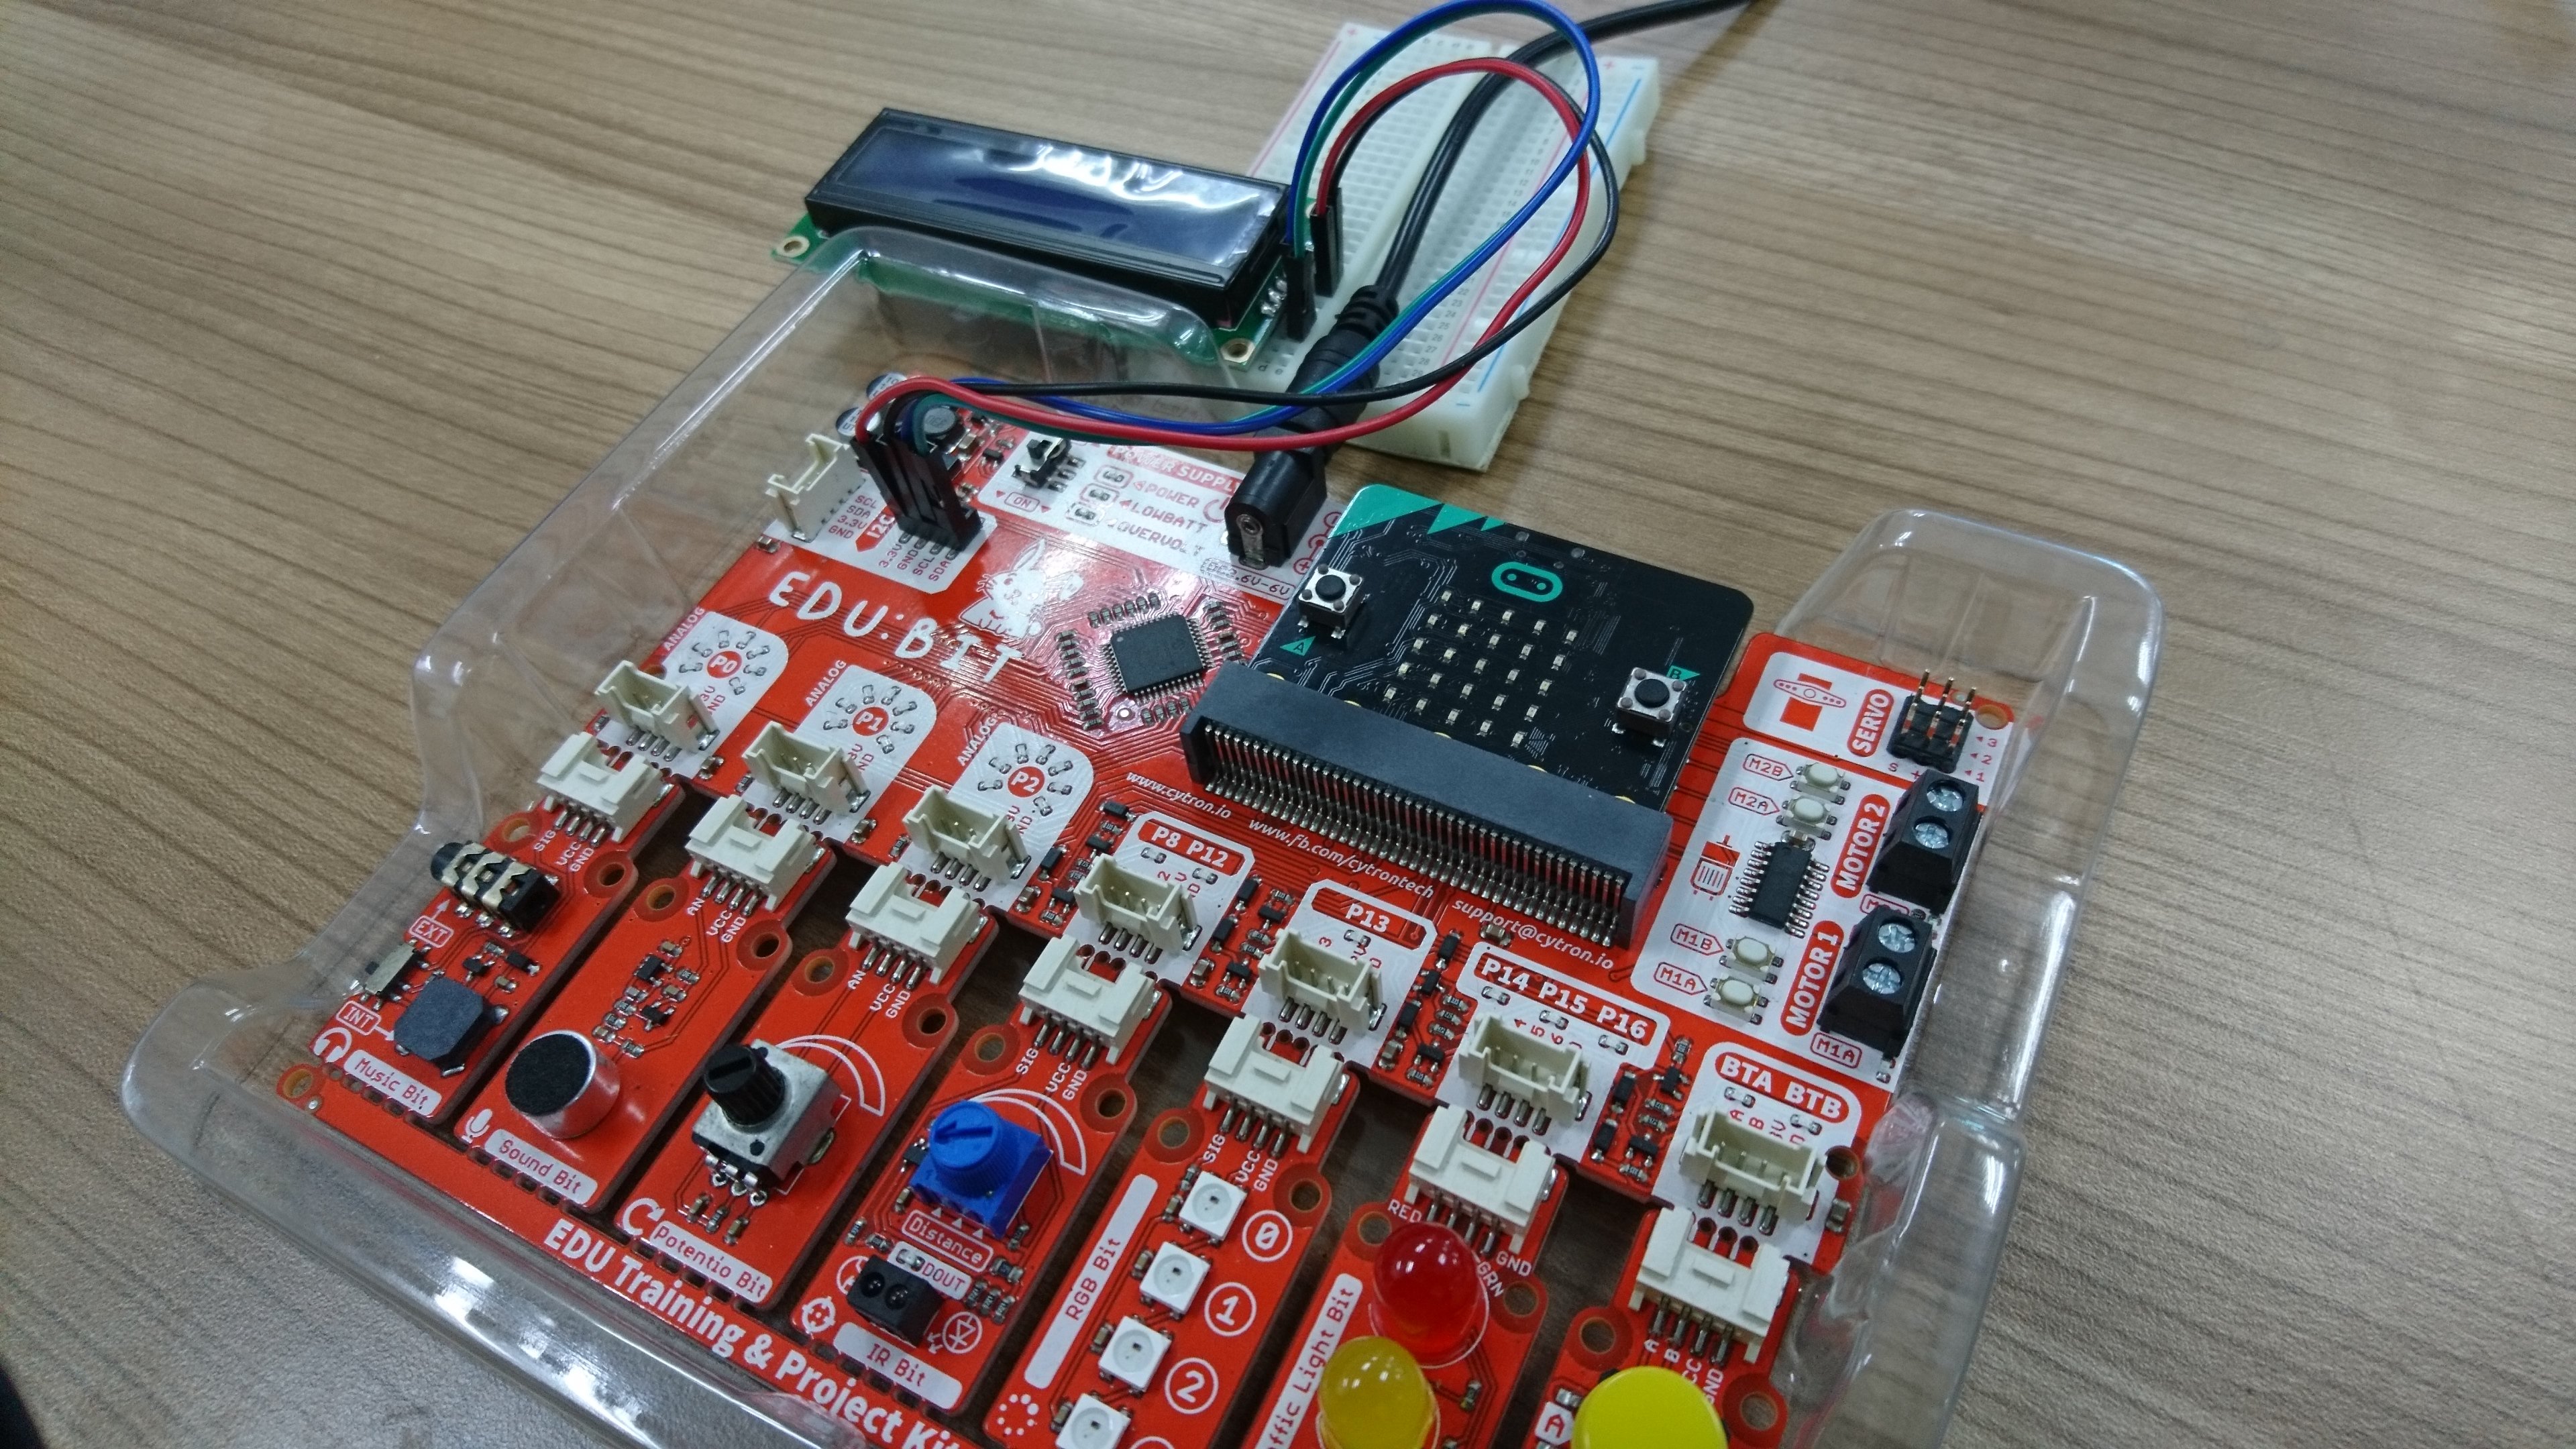
Actual Setup
Programming
STEP 1: In order to display the text on the LCD, we need to initialize the communication first between the microcontroller and the LCD. This can be done by using the initialize block as shown in the clip and then enter the communication address.
STEP 2: Put the row and column block to allocate the text on the LCD. As an example, for me, I would like to allocate my text at the 0 row and 0 column.
STEP 3: Then, drag the text block into the on start to print any text there. As the application mentioned, we would like to display the Hello World, so I will write the Hello World at the block.
STEP 4: Drag the pause block from the basic section into the on start block. Put 1 second pause for it.
STEP 5: Then, in the forever block, insert the loop block. We can get the loop block from the Loops section as shown in the video below. This is for looping the character whenever a new character register entered. The range of the loop depends on the column size of the LCD. So, in this case, the range to loop is from 0 to 15.
STEP 6: Put the display scroll left block inside the forever block. This is for scrolling the text displayed.
STEP 7: Put the pause block for 1 second. This is for controlling the speed of the text scroll. So, in this case, our text will scroll left in 1 second.
STEP 8: Click the download button to download the program that we made.
STEP 9: Plug the USB cable into the micro: bit and the micro: bit's file will pop up. then, just drag and drop the program into the micro: bit's file and wait until the file pop up again.
STEP 10: And boom! Hello World appear on the LCD while scrolling to the left.
Thank You
Thanks for reading this tutorial. If you have any technical inquiry, please post at Cytron Technical Forum.