 International
 Singapore
 Malaysia
 Thailand
 Vietnam
Không có sản phẩm trong giỏ hàng!
Yes! The PS2 have Arduino shield now! The Cytron PS2 Shield is designed to be compatible with SONY PS2 wired and wireless type. Previously I have write an article on G15 cube servo motor on Mobile Robot, controlled using SKPS or SKPSW, but you need to do some wiring.
Since Cytron have launched the shield for PS2, I decided to upgrade the tutorial. With this shield, minimum wiring is needed. Furthermore, G15 team is producing proper wheel and extension cable. BTW, if you have any question or inquiry, please do posts in our technical forum as we seldom check the comment in tutorial site.
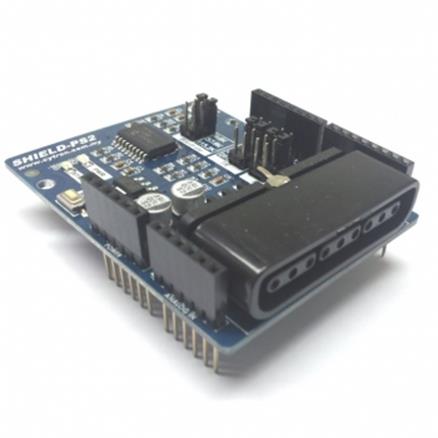
Cytron PS2 shield is designed with the idea to offer user the fun of using SONY PS2 dual shock controller on Arduino, ready with library and example sketches. It is truly plug and play with Arduino UNO, Mega or Duemilanove. It uses UART for data communication with Arduino main board. Pleas edo visit the product page for User’s Manual and example sketch + library. UART is common and yet famous standard serial communication, quite a number of shield use UART for communication, to allow more UART shield to be stacked on Arduino main board, we designed the PS2 shield with option to use software UART (softserial in Arduino). So user can still stack other shield that uses UART together with PS2 shield. In this article, I will be using G15-shield which is using hardware UART.
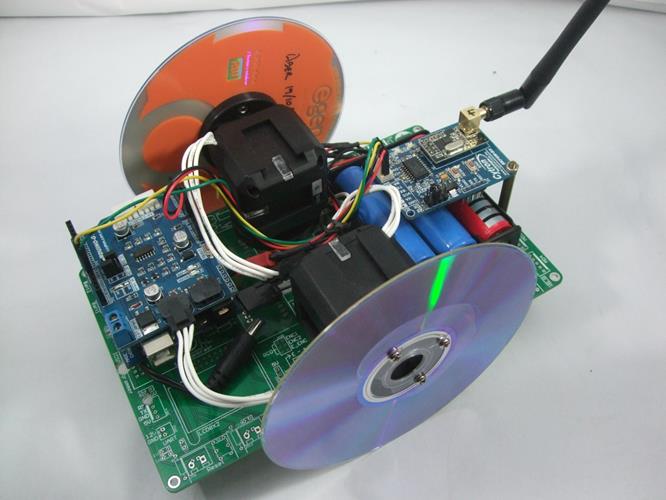
Previously I am using CD/DVD as the mobile robot wheel, I admit, is not nice Cytron is launching wheel for G15, is yet to be launched, what I get is engineering sample. Do keep an eye on Cytron website and facebook fan page.
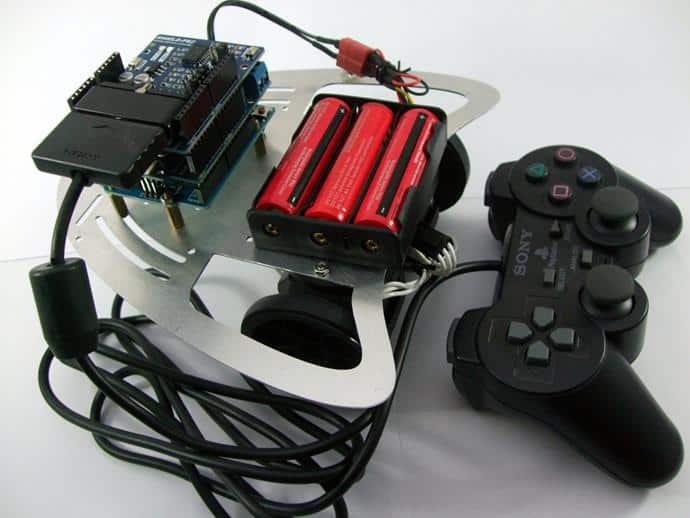
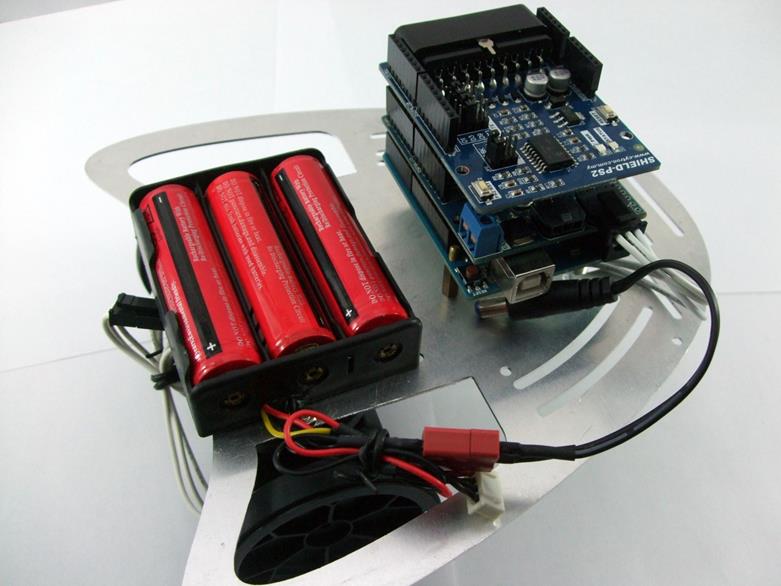
Here is material I am using:
- Arduino UNO (Duemilanove and Mega is compatible)
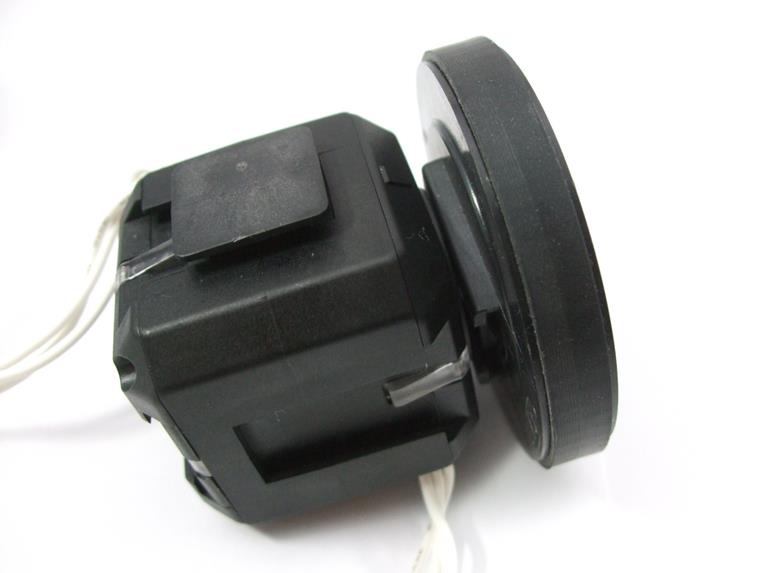
- G15, Cube Servo, 2 units
- 18650 rechargeable Li-ion battery x 3 units
- Aluminium Robot chassis, I am just using the base.
- Some accessories of G15, such as interconnect and external joint.
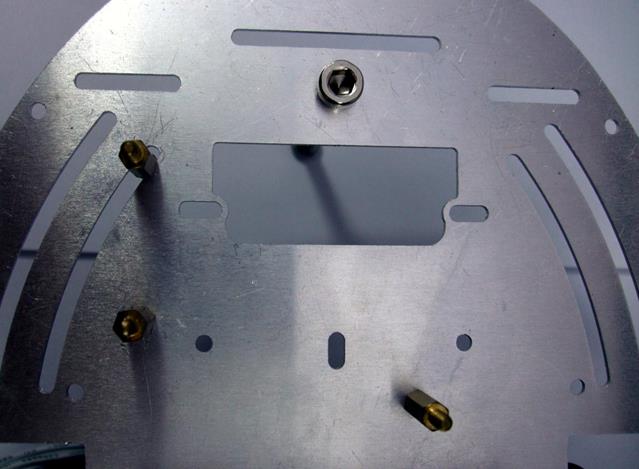
- Some screw and PCB spacers as castor and to mount Arduino main board.
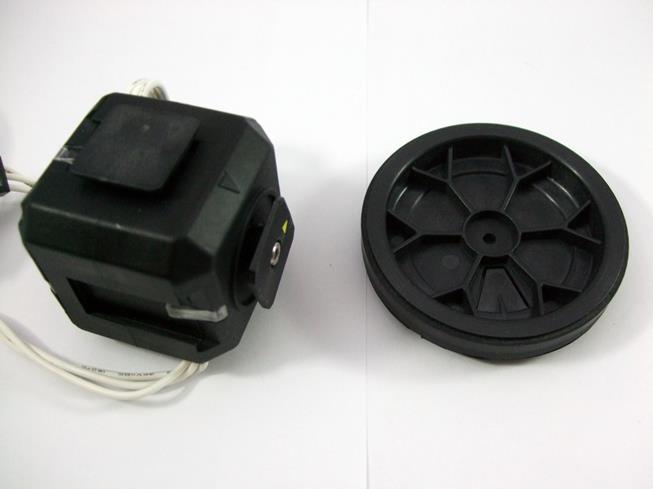
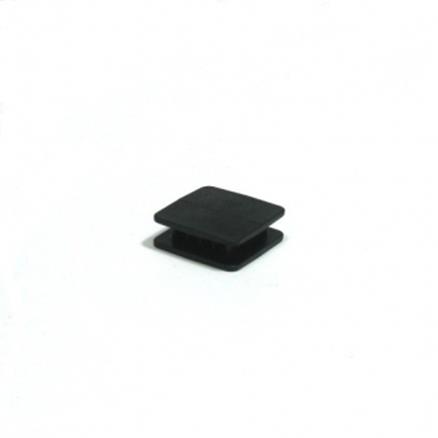
G15 wheel is being designed to be snap, and fit to G15 with the Interconnect.
To mount the G15 and wheel to the aluminium chassis some drilling is needed. I measure the G15’s external joint at the bottom of aluminium chassis and drill two extra holes. Use proper M3 screws and nuts to mount it.
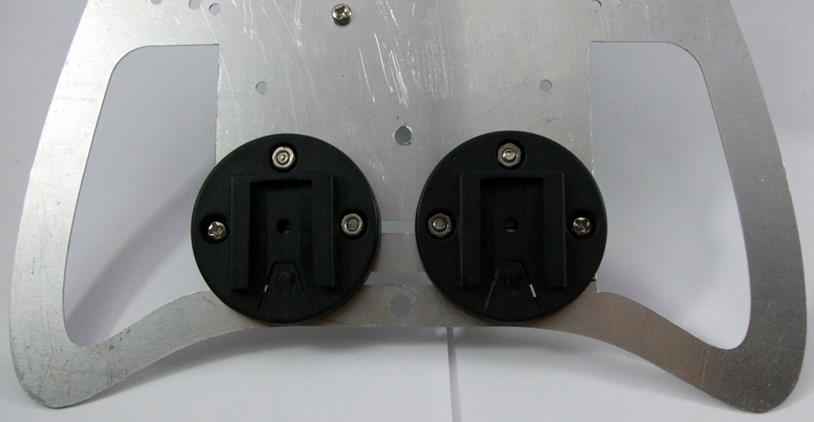
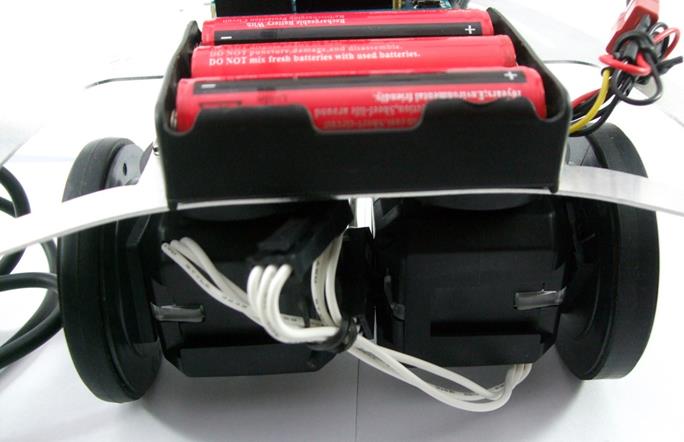
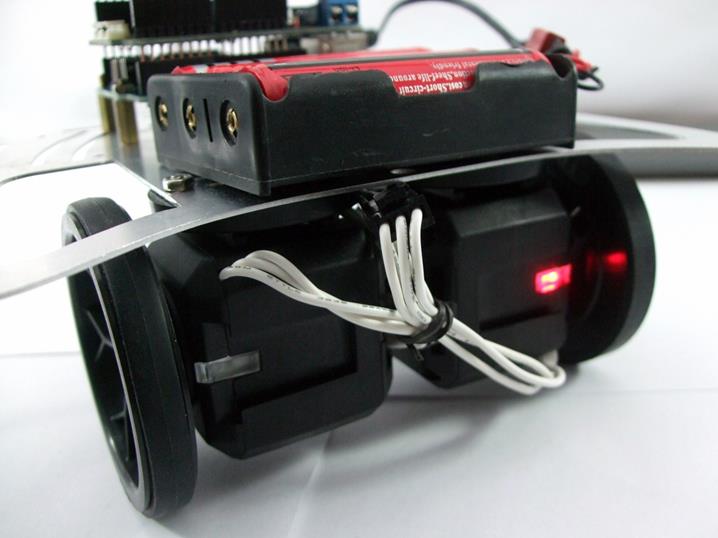
Now insert the G15 with wheel into the external joint. You will get a robot base like this. Not to forget the G15 will be at the bottom of the chassis.
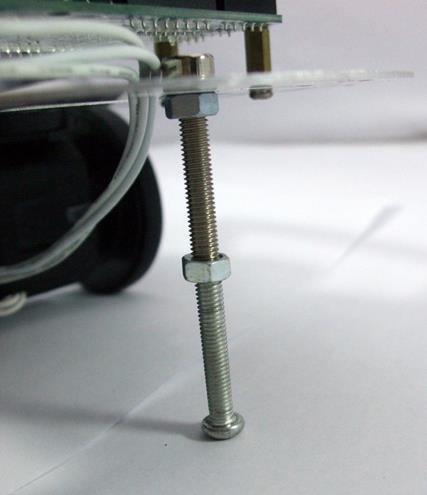
As for the castor, try to get a 60mm (6 cm) M5 bolt and round nuts.
You still need to drill a M3 hole for battery holder mounting. You can also mount it using double sided tape.
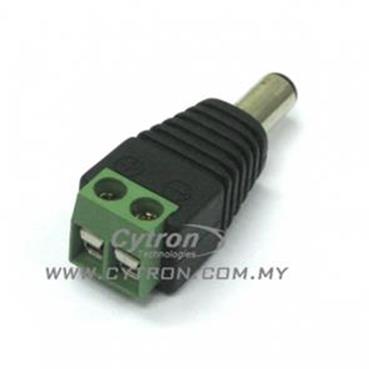
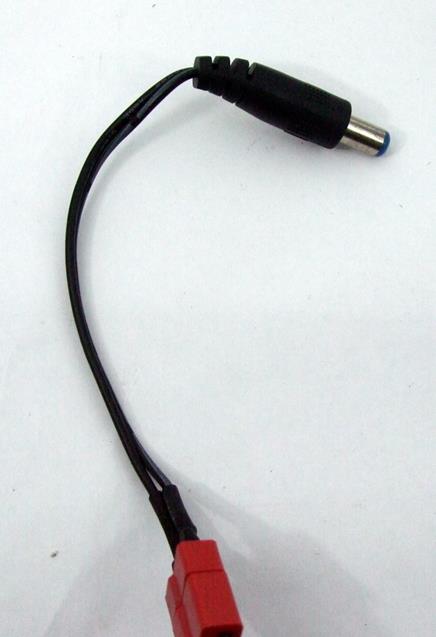
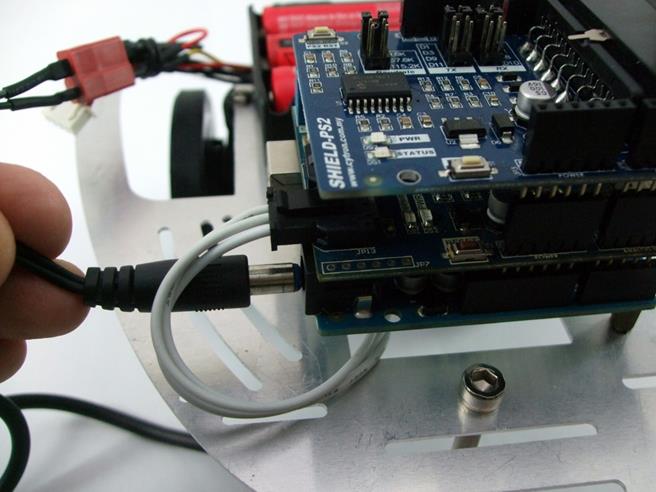
You can use the DC Jack Converter to connect the wires from battery holder to Arduino.
Anyway I am using modified DC jack as I have one .
The aluminium chassis come with ready screw holes to mount Arduino UNO or Duemilanove. Use PCB stands/spacers to mount the Arduino main board as shown.
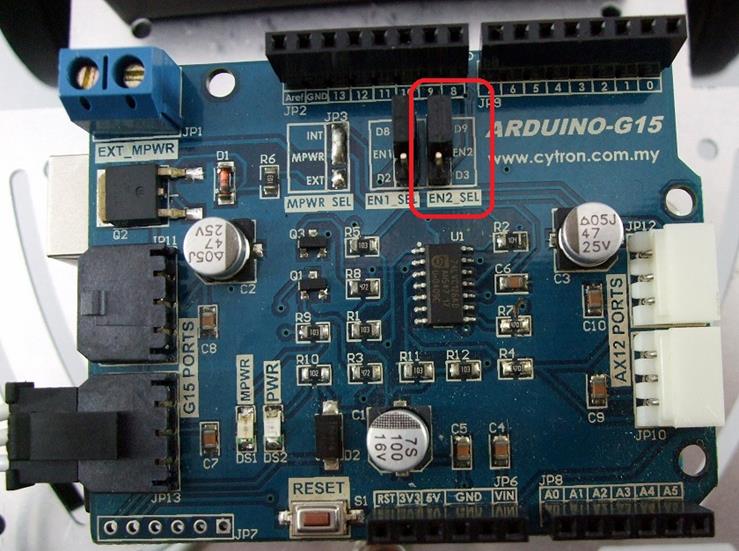
Now, stack the G15 shield on to the Arduino UNO and choose D9 for EN2_SEL, using jumper, that is the control pin for G15 communication.
If your G15 is new, we need to set the desire ID. Connect only 1 G15 to the G15-shield. Let connect the left G15 first and configure it with ID 1. Download the examples and library from G15 product page here. Extract it and copy the folder and place in C:\Users\XXXX\Documents\Arduino\libraries\
Open Arduino IDE and load the example from File->Examples->G15->SetID:
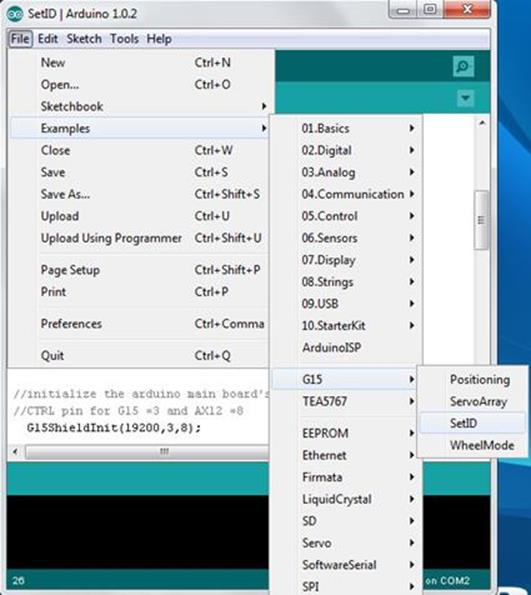
Modify the DesiredID to 0×01 as shown.
#define DesiredID 0×01
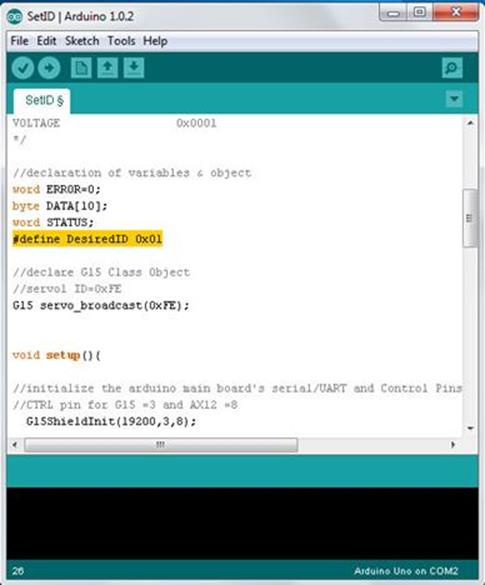
Compile and load into Arduino UNO, if update ID is successful, the LED on G15 will blink 1 second rate (slow), else (blink with fast rate) it is failed and check the connection and power.
Disconnect the left G15 from the shield, connect the right G15 only to the shield (not both, only 1). Modify the Sketch, change the ID to 0×02 and load into the Arduino.
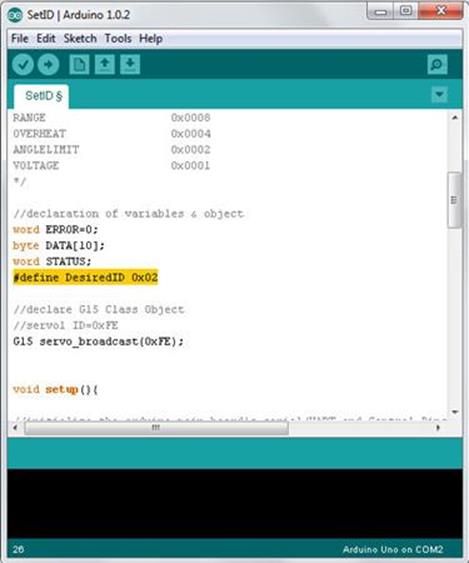
Good, now the ID is set correctly with left is 1 and right is 2.
G15 ID
Left 1
Right 2
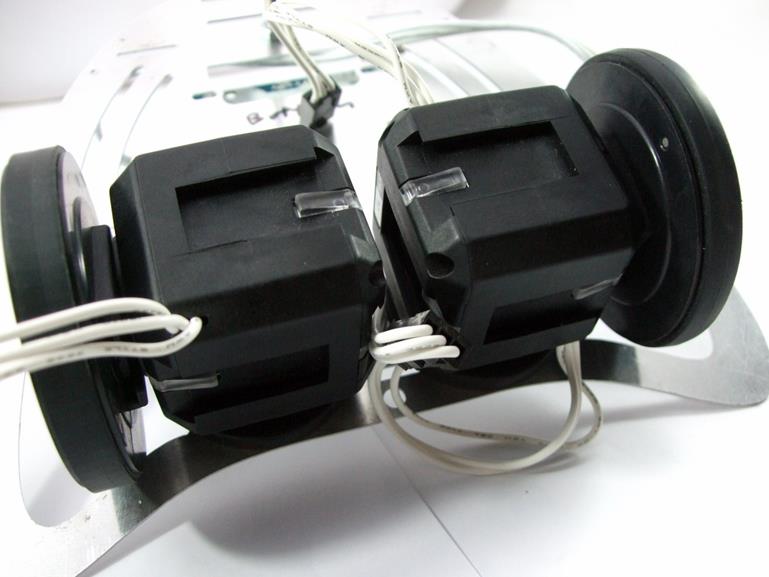
Good!, you are going close. Connect both the G15 motors together, and connect it to G15-shield. I am using G15 extension cable, again, it is engineering sample, I do not know when it will be launched, so you just have to do the wire yourself.
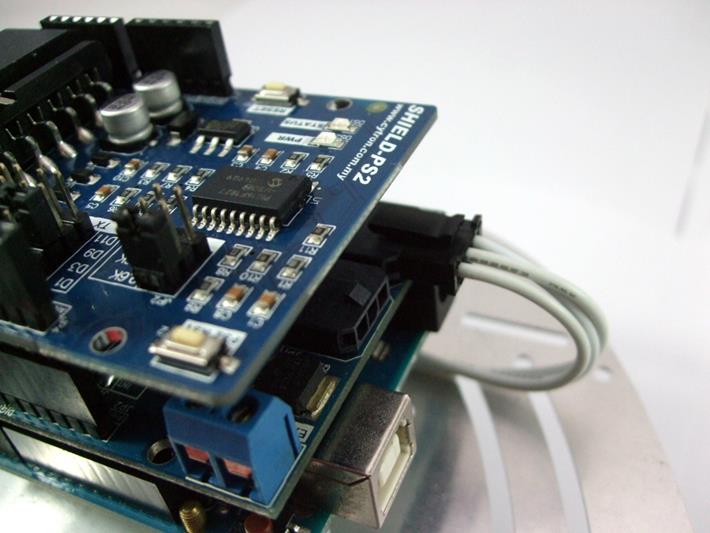
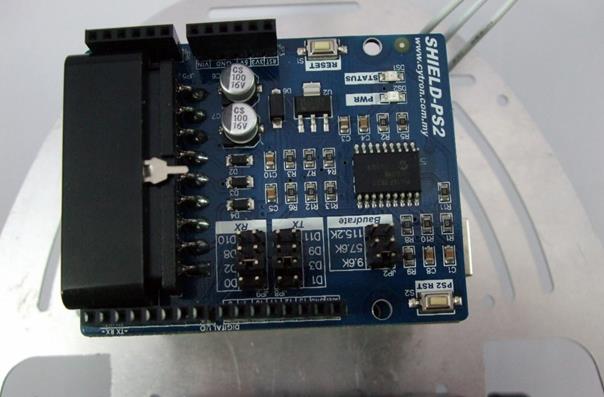
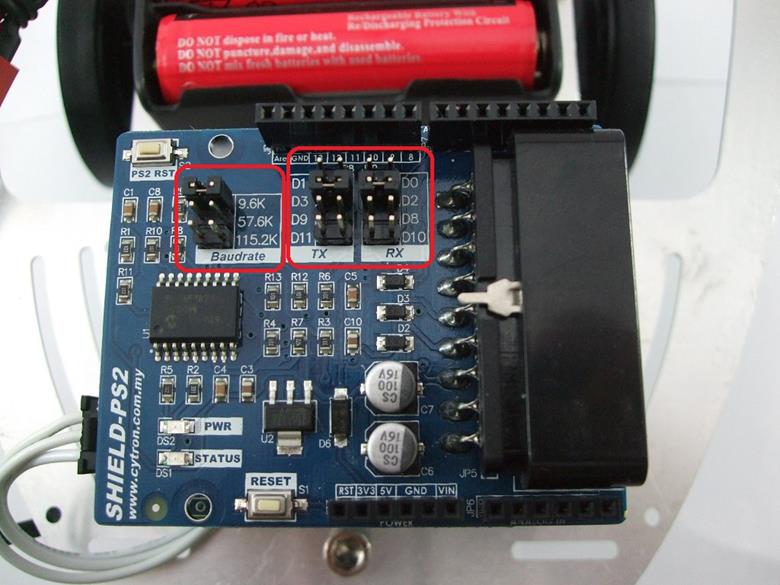
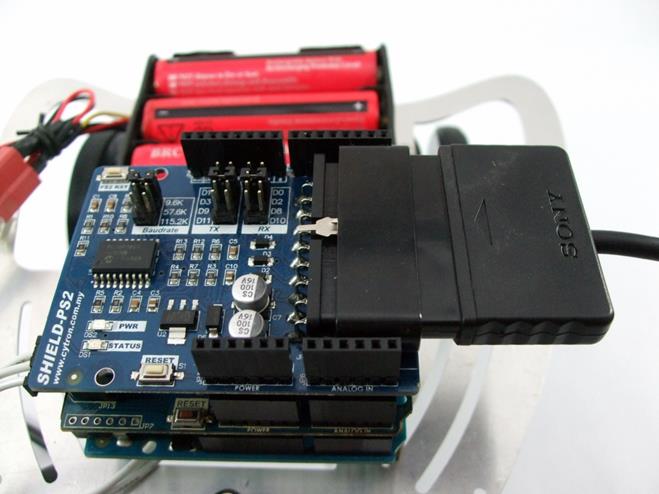
Now we want to add in PS2 shield. Since G15-shield is using Hardware UART to communicate with G15, PS2 shield cannot use the hardware UART, we will need to choose software UART, or softserial. I choose D2 for RX and D3 for TX, use the jumpers on the shield. The baudrate jumper to 9600. Stack it on to G15-shield.
You will get a mobile robot:
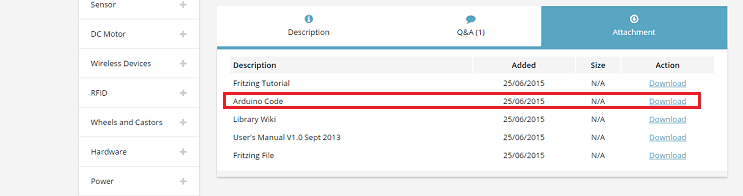
We need to download the library for PS2-shield at here: PS2-shield examples and library
from product page here. Extract it and copy the folder and place in C:\Users\XXXX\Documents\Arduino\libraries\
To understand more about the library, feel free to visit the wiki page here.
Now, download the example sketch for this tutorial here and open it using Arduino IDE. If you are new to Arduino, please visit our Getting Started with Arduino – UNO. Compile the example sketch and load it into Arduino UNO using USB cable.
Plug the PS2 dual shock controller connector to PS2 shield, connect the power from battery and you should be able to control your mobile robot right away
This is just a simple example, do feel free to modify it and share with us the result. Just post a photo or video in our facebook fan page, we will be happy.
Not to forget, the wireless PS2 is also compatible with Shield-PS2, try it out too.
[youtube https://www.youtube.com/watch?v=goR2SMTnc1Y]
Attachments:
G15 shield library and sample code